• Home
  • About
  • DIY
    • My Home Remodel
  • Organizing
    • Cleaning
    • Home Maintenance
  • Home Decor
  • Frugal Living
    • Save Money
  • Shop
    • Shop My Home
    • Amazon Storefront
    • LTK Shop
  • Contact

Stacy's Savings

Budget-Friendly Home Design & DIY

How To Fix Your Christmas Tree Fast With the LightKeeper Pro!

Home Maintenance · November 17, 2018

This post contains affiliate links. More information is available in my Affiliate Disclosure.

I’ve had a faux Christmas Tree my entire life.  Thanks to various family member’s allergies, real trees have always been a no go in my house.  Fake Christmas trees have come a long way since the unlit tree I had growing up, but they can be very expensive.  The worst is when you spend a small fortune on a gorgeous tree, and then 2 years later, none of the lights work.  But this year, I have a strategy for how to fix your Christmas Tree fast so you can get back to enjoying your investment!

Christmas-Tree-Set-Up-Burned-Out-Bulbs

We got a beautiful new tree at a local Christmas store back in 2009.  It was the prettiest tree I’d ever seen.  9′ tall with hundreds of warm white lights.  A couple of years later, as I was setting up the tree for the season, half of the lights were out.  I read all of the instructions with the tree, and I found out about the LightKeeper Pro.  I’ve used it for the last 7 years, but this year, I finally figured out how to use it properly.

LightKeeper Pro

The LightKeeper Pro is the MUST HAVE tool for any Faux Christmas Tree Owner. Find out how you can fix your Christmas Tree FAST on the blog!

The LightKeeper Pro is a small plastic gun-style contraption that can fix your tree quickly.  It can do everything from testing bulbs, to testing fuses, to even fixing sockets!  This is a must have for any fake tree owner.  It can take hours finding those blown bulbs, even when you have a tree that says it stays lit with burned out bulbs.   On our tree, if 3 or more bulbs on the strand are blown, the whole thing goes out.  This year, using my new strategy, I was able to get my 9′ tree set up and fully lit in less than 2 hours!  Doug was shocked!

First, you need to gather your supplies.  I light to keep a “light repair kit” in a clear box with my Christmas Decor.  My favorite clear box for organizing is the Container Store Clear Shoe Box.  I use it for way more than shoes.  Inside my Light Repair Kit I have my LightKeeper Pro, Replacement Bulbs for my tree (check with the manufacturer), replacement bulbs for other decor in separate labeled ziploc bags, extra fuses, and a pair of needle nose pliers.

***When you buy an expensive fake Christmas Tree, make sure you keep your receipt.  For our tree, the only place to get the replacement bulbs is the company that made the tree.  Our tree had a 4 year warranty to get replacement bulbs free, but you had to have a receipt.  Every year I order a bag of 100 replacement lights.  It’s always a good idea to have these on hand in your repair kit.***

How to Use the LightKeeper Pro

As you set up your tree, install the first section in the stand, plug it in, and then figure out where the light strand starts.  That’s the part you want to start fluffing first.  Just the act of fluffing and shaping the tree can jiggle the shunts enough to make the strands pop on.  Sometimes storage can shift the shunts in the light sockets, causing them to disconnect. Getting the strands to light is the key to finding the burned out bulbs, and this is an easy way to test the tree.  I know, tell me something I don’t know.  Just keep reading!
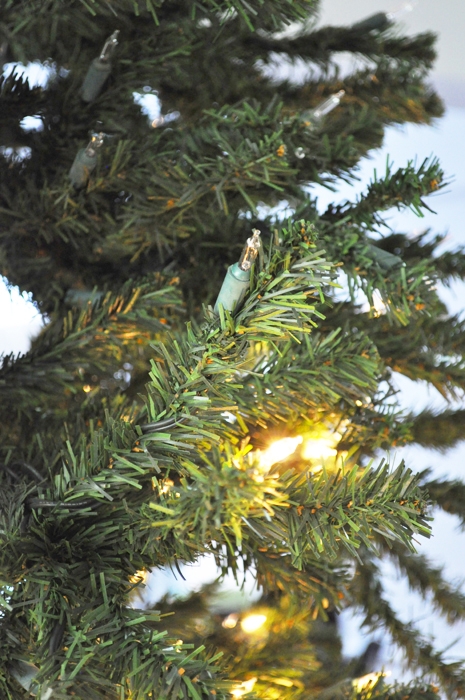
The LightKeeper Pro is the MUST HAVE tool for any Faux Christmas Tree Owner. Find out how you can fix your Christmas Tree FAST on the blog!

When you’ve fluffed and shaped the first section, if any of the light strands still don’t work, grab your Light Keeper Pro.  You’ll need to find the very first light on the strand that isn’t working, so the one all the way to the left.  On my tree, the company strung the lights from the back left of the section, up and around the front, and then back on the right, and on to the next branch.

Christmas-Tree-Set-Up-Burned-Out-Bulbs

Remove the light from the first socket.  Take your Light Keeper Pro, and put the socket into the hole on the front-middle of the gun.  After that, pull the trigger a few times.  This fixes the shunts. The lights should start to flicker each time you pull the trigger, and then they should stay on as long as the Light Keeper is on the socket.  That means your lights still work!  Score!

Before you put that bulb back in the socket, stick it in the hole on the top of the gun.  Make sure both of the little copper wires are touching the metal sides, and you might need to push down a bit for a good connection.  If the bulb glows, that means its still good, and you can put it back in the socket.  If the strand still won’t work, repeat the process with the second light.

Why It Works

Fixing the shunts will allow the lights to stay lit so you can find your burned out bulbs.  Replace all of those, then move on to the next strand and repeat this process.  Finish the bottom section of the tree, then repeat the steps with the second section.

My 9 foot tree has 4 sections, and I found that doing each section as I built the tree, it was easier for me to find the bad bulbs.  For the last section, since its so small, its easy to plug into the wall and do this process on the ground.
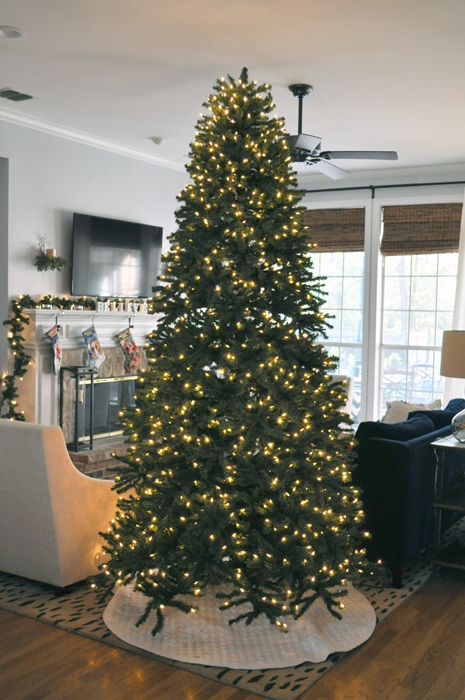
Christmas-Tree-Set-Up-Burned-Out-Bulbs

Following this strategy saved me so much time!  In years past, we would spend hours upon hours removing every light and testing it with a good bulb.  Every. Single. Light.  I think last year, setting up the tree took 2 days.  We’ve had this gun for years, but the instructions aren’t that great, and I never quite figured it out until now.  This methodic strategy is a keeper, and I’m shouting it from the rooftops!
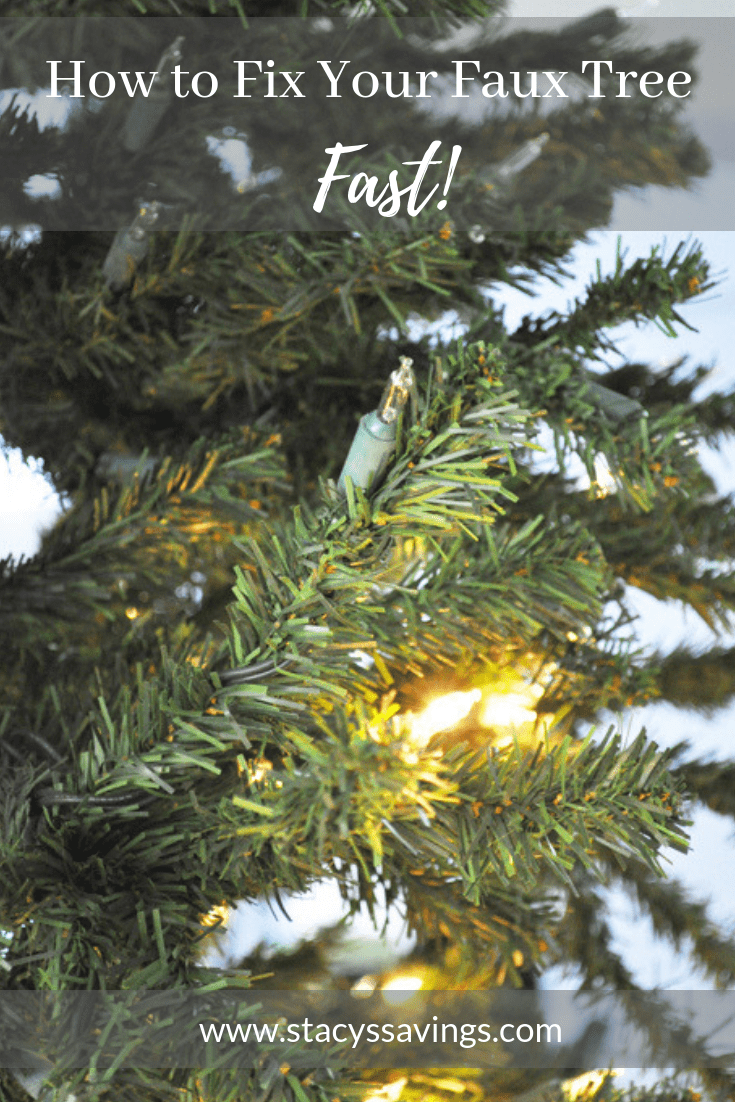
The LightKeeper Pro is the MUST HAVE tool for any Faux Christmas Tree Owner. Find out how you can fix your Christmas Tree FAST on the blog!

Our 9 year old expensive tree still looks fantastic, all thanks to the LightKeeper Pro!  I’ve even included it on my Favorite Holiday Decor Finds List, even though its not decor!

Post Tree Set Up Treat!

Once you’re done fixing all of the bulbs and fluffing the branches of your tree, don’t forget to take care of your hands & nails.  Your fingers and nails take a beating with this project.  My favorite thing to do after fixing my tree is to give myself a manicure.  I use my Julep manicure set and buffing blocks to properly shape my nails after a quick soak in warm soapy water.  I then follow up with two coats of their Oxygen Nail Treatment, Fast Absorbing Cuticle Cream and their No Limits Luxe Hydrating Creme.  Keeping my nails looking nice is my favorite way to feel put together, especially during the holidays!

Do you have a LightKeeper Pro?  I don’t know why it took me 7 years to figure out how to use it.  Doug could not believe that I set up the tree and got all of the lights to work in 2 hours.  It’s so easy to fix your Christmas Tree fast so you can enjoy the season hassle-free!
You might also enjoy

10 Must-Have Items for Rolling Blackouts
« My Favorite Holiday Decor!
Easy Ways To Earn Free Gift Cards & Cash!! »

Leave a Reply Cancel reply

Your email address will not be published. Required fields are marked *

About Me

Hi y'all, I'm Stacy! I'm a wife & mom of 3 from North Texas who is currently renovating our 90's Builder-Grade Fixer Upper with DIY Projects that incorporate Function, Organization and Style - all on a budget. At Stacy's Savings, you'll find ideas & strategies to save money transforming your home without sacrificing style. Never pay full price.

We are a participant in the Amazon Services LLC Associates Program, an affiliate advertising program designed to provide a means for us to earn fees by linking to Amazon.com and affiliated sites.

Follow Me

See how I built this DIY Farmhouse Vent Hood Cover for less than $200! Vent Hood | Vent Hood Ideas | Farmhouse | Joanna Gaines | Fixer Upper | DIY | Modern Farmhouse | Kitchen Remodel | Kitchen Renovation | White Kitchen | Rustic Vent Hood | Farmhouse Vent Hood | Farmhouse Vent Hood Ideas | Farmhouse Vent Hood DIY | Vent Hood Over Stove | Wooden Vent Hood

How I Built My DIY Farmhouse Vent Hood Cover

See what we think about our IKEA kitchen cabinets 2 years later. Its all on the blog.

IKEA Kitchen Cabinets Review – 2 Years Later

Our completed garden shed!

DIY Cedar Garden Shed – No Kit & Built in a Weekend!

It's the Pantry Reveal! Check out how we designed and built a new walk-in butler's pantry complete with lots of shelving and a countertop!

Our DIY Custom Walk-In Pantry Progress and Reveal!

See how I organized my farmhouse pantry!

Our Farmhouse Pantry Organization Reveal!

Browse

  • Privacy Policy
  • Affiliate Disclosure
  • Opt-out preferences

Get New Posts Delivered to Your Email!

Let’s Connect!

Happy 250th Birthday America! 🇺🇸 Happy 250th Birthday America! 🇺🇸
After an 11-year home remodel and a backyard renov After an 11-year home remodel and a backyard renovation last summer, we’ve spent a lot of time out here figuring out what actually makes pool days easier.

These are a few Amazon favorites we reach for again and again all summer long.

Do you have a poolside must-have I need to know about?

Shop everything in my Amazon Storefront, ShopMy & LTK.
School’s out for Summer & the pantry is ready! I School’s out for Summer & the pantry is ready!

I spent this week cleaning out & stocking the pantry, the pool bag, the craft cabinet & more. Let summer begin! ☀️😎
#ad | This is the only nail routine I’ve used for #ad | This is the only nail routine I’ve used for the past year.

I’ve always done my nails at home to save money, but I wanted something that actually lasted without damaging my nails.

The Dazzle Dry system dries in about 5 minutes, wears like gel (without the damage), and I can go over a week without chipping.

I’m using You’re Unforgettable from their Better Together spring collection, and I linked the full system + shades in my LTK so you can shop everything in one place.

@Shop.LTK #liketkit https://liketk.it/62QyO
@dazzle_dry #DazzleDryPartner
I’ve shared parts of this room before — but not th I’ve shared parts of this room before — but not the full evolution.

This is my 16-year-old son’s bedroom. I designed it back in the 2020 One Room Challenge with the goal of creating something we wouldn’t need to redo every few years.

Before that, it was a bright little boy’s room.
And when we first got the keys? Just a blank box.

Over time, we’ve upgraded it slowly — including replacing the carpet with hardwood last year to match the rest of the house.

The foundation hasn’t changed.
Just the seasons.

More books.
More Legos.
More personality.

Same room. Just evolving.

I’ll be sharing more spaces from our renovation — not in order, just as they come. Follow along for more. 🤍
This hallway was always one of those in-between sp This hallway was always one of those in-between spaces - finished enough, but never quite done.

Adding an art lamp was the final touch. It completely changed how this space feels, especially at night. ✨

Comment LIGHT below to receive a DM with the link to this post on my LTK ⬇ https://liketk.it/5QEdl
Design by SkyandStars.co

Copyright Stacy's Savings © 2026 · Log in

Manage Cookie Consent
To provide the best experiences, we use technologies like cookies to store and/or access device information. Consenting to these technologies will allow us to process data such as browsing behavior or unique IDs on this site. Not consenting or withdrawing consent, may adversely affect certain features and functions.

Besides, I wouldn't know how to access that info or what to do with it anyways! The Government makes us do this. ~Stacy
Functional Always active
The technical storage or access is strictly necessary for the legitimate purpose of enabling the use of a specific service explicitly requested by the subscriber or user, or for the sole purpose of carrying out the transmission of a communication over an electronic communications network.
Preferences
The technical storage or access is necessary for the legitimate purpose of storing preferences that are not requested by the subscriber or user.
Statistics
The technical storage or access that is used exclusively for statistical purposes. The technical storage or access that is used exclusively for anonymous statistical purposes. Without a subpoena, voluntary compliance on the part of your Internet Service Provider, or additional records from a third party, information stored or retrieved for this purpose alone cannot usually be used to identify you.
Marketing
The technical storage or access is required to create user profiles to send advertising, or to track the user on a website or across several websites for similar marketing purposes.
  • Manage options
  • Manage services
  • Manage {vendor_count} vendors
  • Read more about these purposes
View preferences
  • {title}
  • {title}
  • {title}