It’s the start of Week 3 of the Fall 2020 One Room Challenge! With the painting done, its time to get to some fun stuff! I’m actually going to jump ahead a bit, without spoiling the rest of the room, because I’m so excited about this project! Today, I’m going to show you our custom Lego Storage & Organization carts!

To catch up on the room reveal, plans, all of the before photos and the progress, check out these posts:
Lego Storage Needs

My son loves to build & display Lego sets, but individual Lego Storage was becoming a problem. For a while, we used some small plastic containers to hold Lego pieces by color. These boxes were stored in one of the green bins in his shelf. However, 10 Star Wars Sets later, he was quickly outgrowing the grey & black boxes. He also complained that it was “stressful” to find the bricks he was looking for.
In addition to those color-coded bins, he had loose legos in 2 of his large red Trofast bins. We also had one “downstairs” Lego bin that was full of loose bricks from one of these Classics Creative boxes.
We needed to figure out a way to allow his collection to grow, but also keep it all contained in one place.
The Trofast
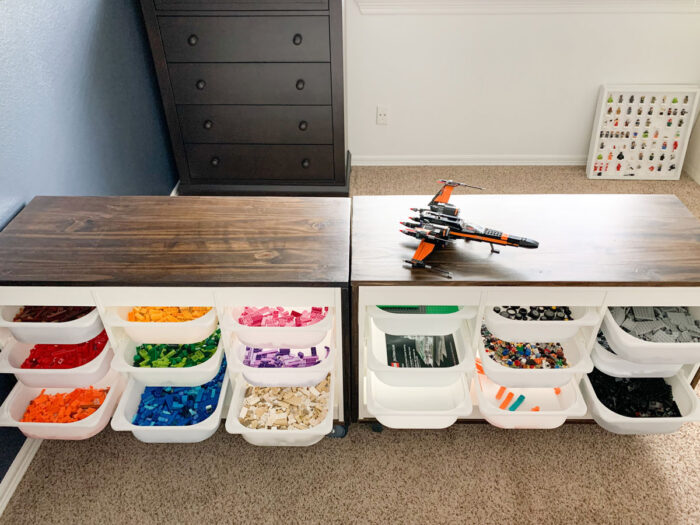
We loved our IKEA Trofast and used it for almost 8 years to contain toys and other items. But, the stairstep shape wasn’t working anymore. Since we knew we were going to lose the Train Table, he needed a flat space to build his sets. After perusing Pinterest, we saw tons of the flat Trofast units with shallow bins to organize Legos by color. This is a perfect Lego Storage solution, because the Trofast unit is about $40, and the bins are $3/ea. That’s less than $70 for the unit including the bins. We also liked the white bins to make it all uniform. There was one problem – they’re really short.
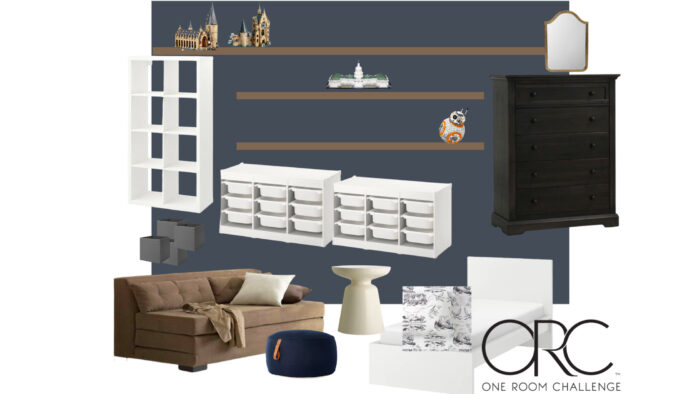
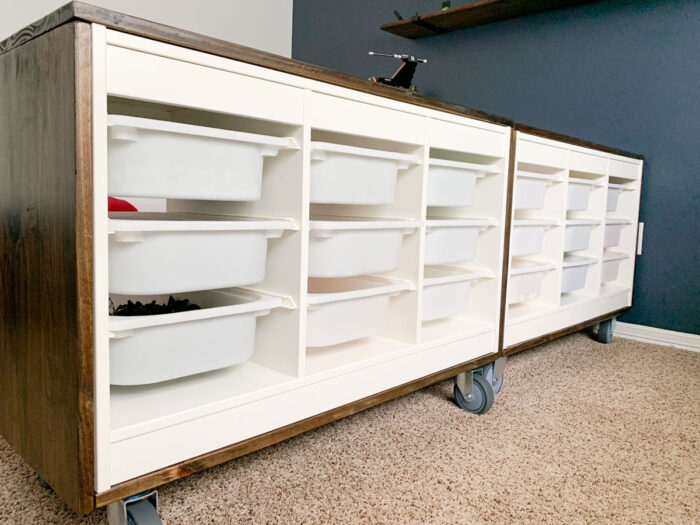
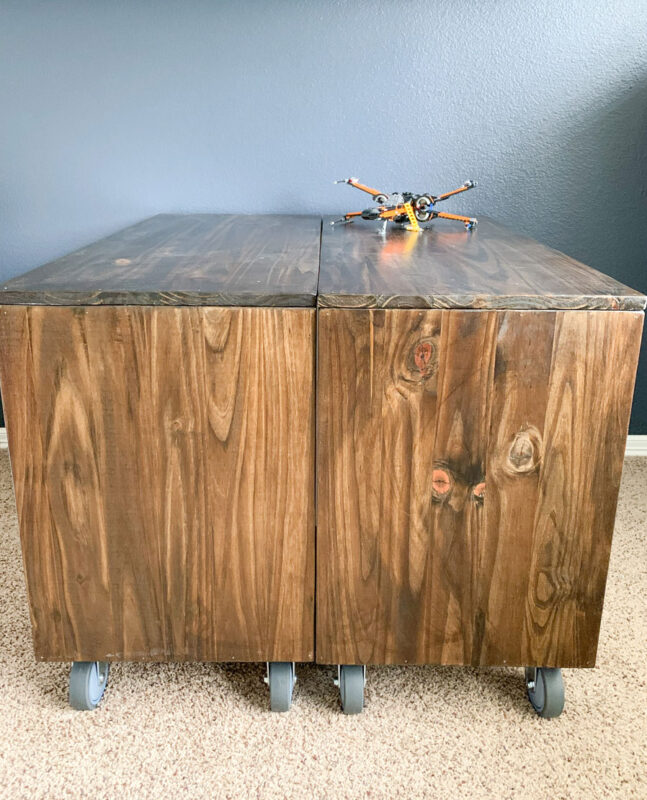
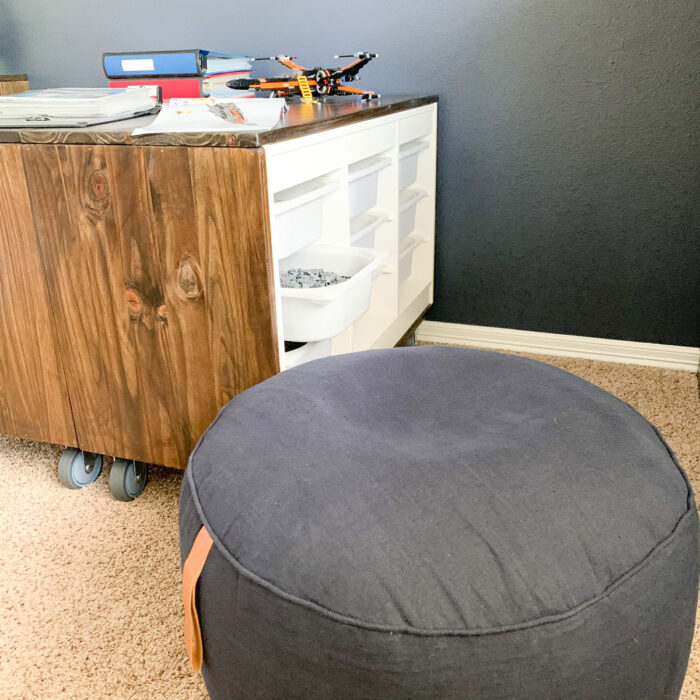
In order to make the Trofast units the right height for a tween boy to use, we needed to figure out a way to raise them. We looked around at some solutions and finally decided on wrapping the units in wood & adding casters. This would give us height, but also allow him to move the units around the room or change the configuration. When he can have friends over again after COVID, they can each have their own building space. The height is perfect for working from his bed, his pouf, or the couch that we’re going to add to his room.
The Inspiration
The inspiration for this idea came from Young House Love. Remember when they wrapped their Expedit unit in wood for their son’s nursery? When I remembered that they did this, I went to go see what materials they used & I discovered that they thought about adding wheels too! I didn’t remember that! They ended up not going with the wheels. I really liked the way wrapping the units in wood looked.
Adding the Wood to the Trofast
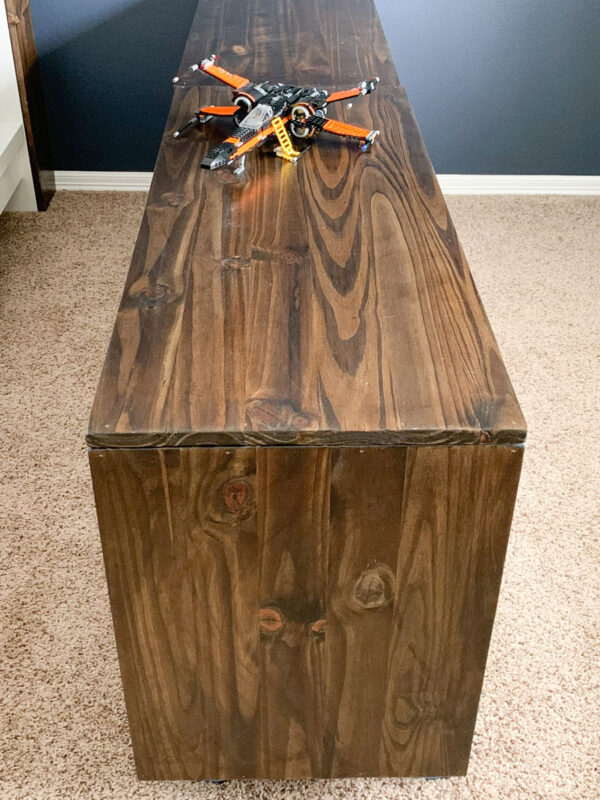
Adding the wood to the Trofast not only gives us an additional 1.5″ of height, but it makes it look more grown up. It’s like a real piece of furniture. The Trofast sides stick up a tiny bit taller than the tops, so by wrapping them in wood, we got a solid Lego Storage top surface for building.

Wood is so expensive these days due to COVID, and I had a really tough time deciding on what materials to use. I ended up using 4 pieces of Glued Edge Project Board. The 1×10″s were about the same price, but I would have had to join them. Also, I can’t ever find straight boards. The project boards are straight & ready to go with finished edges. So I paid a little extra in order to have materials that were ready to work with & save some time.
I found some 20″ x 6′ project boards at Lowes for around $30 each. Since we had two Trofast units to cover, we needed 4 of these 6′ panels. Each panel makes one short and one long side.

Make sure when you buy these that the glued boards are the same widths on each piece. I didn’t know this when I bought them, but some have 1″ boards glued together (like the package above), while others are 3.5″ (like this one). If you’re painting them, its not a big deal, but we were staining. I needed to make sure to get Stain Grade but also make sure the boards were the same widths. I actually purchased two of the smaller ones and had already cut them down when I realized it. I’m going to keep those for another project, but it added cost to this one.
If you want to do this cheaper, you could just do the tops and not the sides or bottoms. This is the One Room Challenge, and I wanted to do something cool…that also was $120 more. *major budget eye-rolls* 🙄
The Cuts
I totally spaced-out when I measured for the cuts and didn’t do it the way I wanted to, so I’m going to tell you what I wanted to do, sound good? Double check the measurements of your actual units.
First, we ripped the 20″ boards down to 17.5″ wide. I wanted a slight reveal (where the wood sticks out slightly) on one side. Once the width was ripped down, we used a circular saw to cut our sides. For each 6′ board, you want one 40 5/8″ and one the exact height of the sides, which is about 22″.
With all of the pieces cut down, it was time to sand & finish them. I did one pass with my sander on each piece with 80 grit, and then finished with 220 grit. I also eased all of the edges.
We wiped them all down with a tack cloth to remove the dust. Then, we used Minwax Wood Conditioner on each piece.
The Finish
My son learned all about “going with the grain” on this project. He got careless and wiped off the Wood Conditioner the opposite way on two pieces. It totally showed, so I had to sand those down again and re-condition them. I wasn’t able to get it out of one of the top pieces. He’ll just always have a reminder not to go against the grain. Oh well! Boys!

For our stain, we didn’t want to buy anything, so we combined a leftover can of Dark Walnut & a leftover can of Jacobean. It was about 2 parts Jacobean and 1 part Dark Walnut. These two are very similar with Dark Walnut having a tinge more red than Jacobean. This would give us enough stain to complete all of our projects for this room so that they are cohesive.
We used these stain sponges to do one coat of stain. We left it on for about 5 minutes before wiping it. To protect the finish, we used 3 coats of Minwax Polycrylic in Matte.
Attaching the Wood
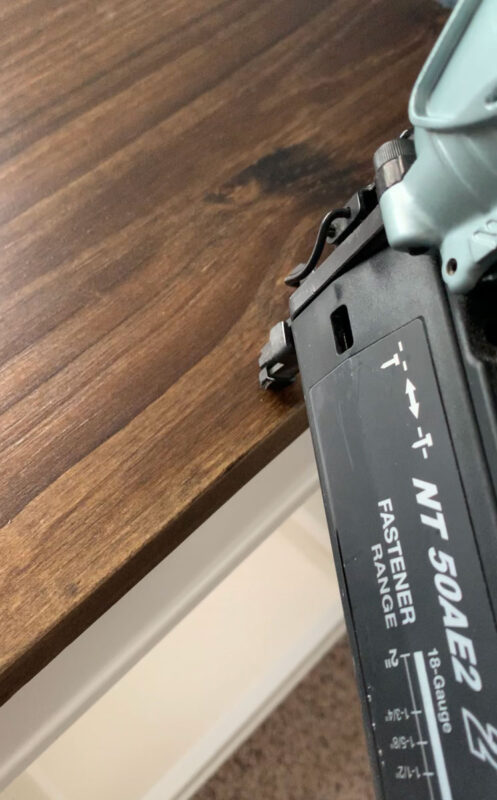
I used my brad nailer with 1 1/4″ nails to attach the boards to the Trofast units. I made sure to line them up with the reveal that I wanted. Then, I was very careful to make sure I would nail through the Trofast sides (some are recessed a bit). I also aimed in slightly so that the nails wouldn’t come through the exposed parts of the Trofast.
I did not use any glue, but you could use an adhesive like liquid nails if you wanted to. Just know if you do, you have to live with that wood on there forever.
The Wheels

While the wood gives us an additional 1 1/2″ in height, we still needed to get our Lego Storage working surface to around 30″. We found these 4″ mid-duty casters that have an overall height of just over 5″. These were a little expensive at about $13 per wheel, and we needed 8. The reason I went with the mid-duty vs the light-duty was that the ball bearings on the light-duty wheels were more exposed. That meant there was a lot of exposed grease. Not great for a boy’s room.
These casters had large holes, so I had to buy some washers to make the heads of my 1″ wood screws big enough to secure them. I didn’t want to buy screws, so it was just easier and cheaper to get washers. I made sure to line my wheels up in the same spots on each corner. They are about 1.5″ from the sides so that the wheels don’t stick out over the edge on the sides. I set them back about 7/8″ from the fronts.
The Lego Storage
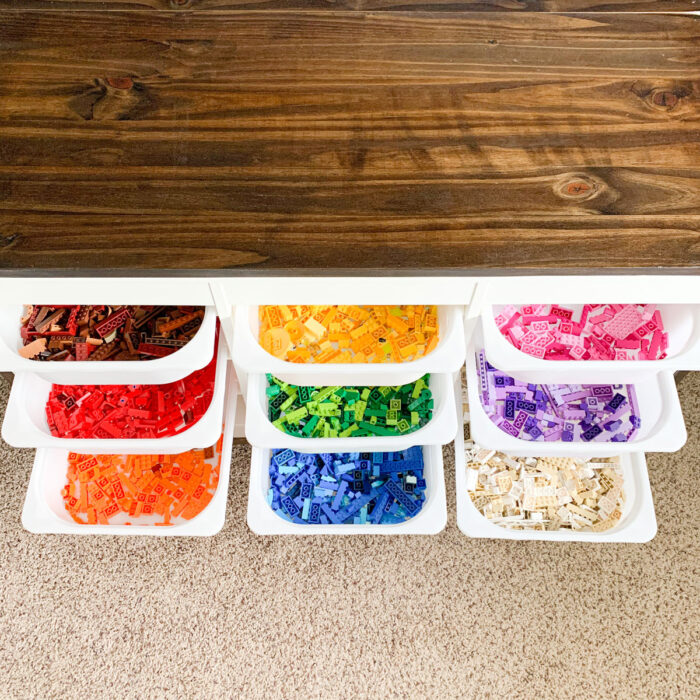
We have 18 Trofast bins to use for Lego Storage. We decided to do all colors in one Trofast: brown, red, orange, yellow, green, blue, pink, purple, white. In the other Trofast, we did light grey, dark grey & black. The other 6 bins have wheels/tires, Minifigs & accessories, and flat base plates.
Lego Set Instruction Organization

We had a binder for his Lego Instruction Manuals that was bursting at the seams. I took this opportunity to better organize them and make them more manageable. We already had one 1 1/2 Better Binder (the BEST Binders EVER!) for Lego Manuals, so we picked up two more in different colors. You could do larger binders, but we found that they get way too heavy and hard to use.
Using Page Protectors and Pocket Pages (already had on hand), we separated the manuals by theme. The Blue Binder holds Harry Potter set Manuals. The Black Binder holds Star Wars Manuals. The Red Binder holds everything else, organized by theme.
The Budget
This Lego Storage project was definitely not budget-friendly. While the Trofasts are relatively inexpensive, you certainly don’t need to wrap them in $120 of wood or add $100 in casters to them. We really wanted to be able to easily move the unit and get extra height, so this is what we chose to do. Plus, it looks awesome.
Here’s the budget breakdown for this project:
2 Trofasts + 18 Bins $133.98
4 Project Boards $119.68
12 Casters $101.84
Washers/Conditioner/Poly $25
Total $380.50
Yikes. I may have been a bit unrealistic about that $1,000 budget. In my defense, I didn’t really price things out before I said “I only want to spend $1k.” I just figured it would be around there & pulled that number out of the air. I guess a more realistic budget for this room is probably about $1,750.
The good news is he loves the Lego Storage. It’s his favorite thing. I love it. It’s fine. It’s definitely a statement in the room. So let’s see some more pics!


Lego Storage is one of the major projects finished for this room! We’ve still got a few fun things up our sleeve for this room. Hopefully, they are much less expensive. Make sure you’re following along on Instagram. I’m posting Stories there so you can get a sneak peek!
Make sure you stop by the One Room Challenge Blog and check out the latest from all of the other spaces in the challenge. There’s so much inspiration!
So what do you think about our Lego Storage? Worth the $380? Extravagant? Ridiculous? Fantastic? Let me know in the comments! I will say, separating all of those mixed bins of Legos by color was extremely satisfying.
Adrienne Robideaux says
This looks great! Can’t wait to see more of this room.
Stacy says
Thank you so much Adrienne!
Sondra says
Love your Lego storage. We have a very similar set up. It is satisfying to see all the colors sorted and ready for play!
Stacy says
Hi Sondra!
Thank you! We’re loving it so far!
~Stacy