The baby’s birthday party was last week. For most of April, I pinned various projects for the party, and for most of May, I was making the decorations! One of the things I wanted to do was make a special birthday cake with a matching smash cake. So today, I’m going to show you how I made her birthday cake!
Pink Ombre Birthday & Smash Cake
The idea of ombre layers to match the party decor intrigued me. I found a few different pins on Pinterest that I put together to make our cake.
I decided on these two:
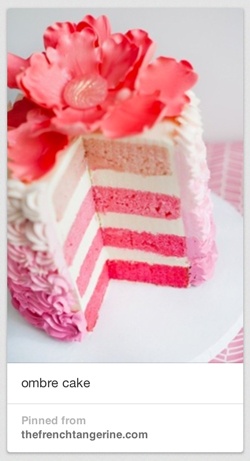
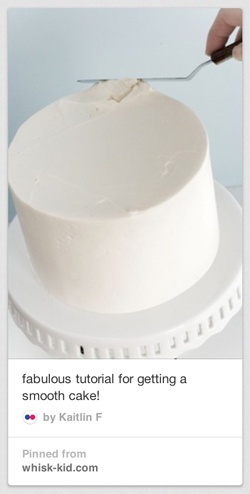
These look pretty fantastic, don’t they! To be honest, I was totally intimidated by that smooth frosting pin, but that was the look I wanted, so I decided to go for it.
Supplies
Here’s what I used to make these ombre birthday cakes:
- Round Cake Pans
- Wilton Gel Food Color
- Angled Spatula
- Bench Scraper
- Cake/Frosting Ingredients
The ombre part is super easy. All you do is mix up your cake mix and add food coloring to it. I used a Betty Crocker Mix, and I needed 2 boxes for this project. I doctor my box mixes with recipes from The Cake Mix Doctor
I didn’t have any small round cake tins. I guess I could have used Corning Wear, but I didn’t think about it, so I got these
Geting the Right Colors
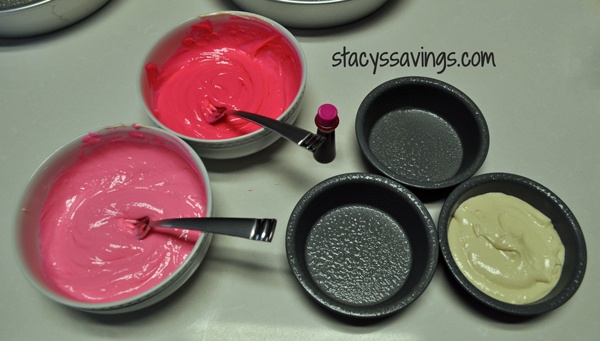
I mixed up my ingredients according to the recipe in the cookbook (I used the sour cream version), and I portioned it out equally into two bowls and a cake tin. One mix box makes more than you need for the smash cake (which I’m showing here) so I used the left overs for one of the layers of the main birthday cake. Since one of my layers was going to be white, I just went ahead and put that portion in one of the pans. No need to dirty another bowl.
The bowls are used to mix the food coloring to get your different shades of (in this case) pink. You can use multiple colors to make a rainbow cake or whatever you want! I started with the hot pink layer first, since it was darkest. It took about 5 drops of the gel coloring to get this vibrant pink. After I mixed that together, I poured it in one of the two remaining cake pans.
The lighter pink layer, I mixed one drop at a time. I didn’t want it to be too light or too dark. It took 2-3 drops to get this pink. I put that into the last pan, then I baked the cakes.
Frosting the Birthday Cakes
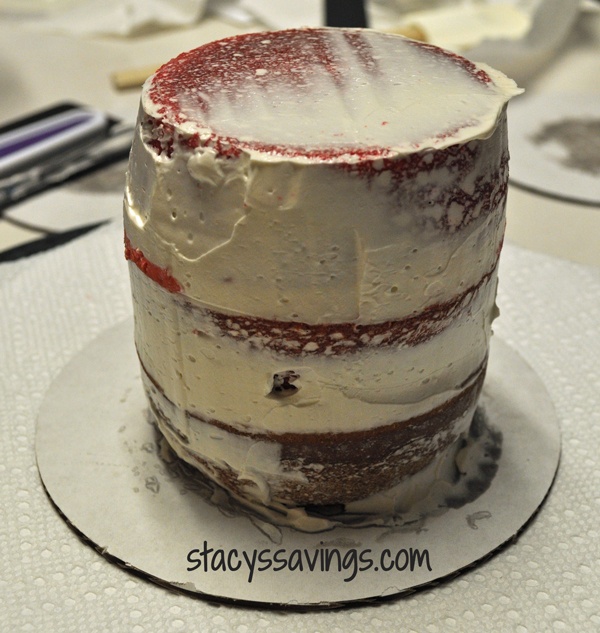
After the cakes cooled, I used a bread knife to cut off the domes in order to make the layers flat. I then used the Whisk-Kid’s How To Frost A Cake Tutorial to frost the cake. I also used her Swiss Meringue recipe. She has some fantastic recipes that I have to try soon!
The Completed Birthday Cake
Here’s the final result!

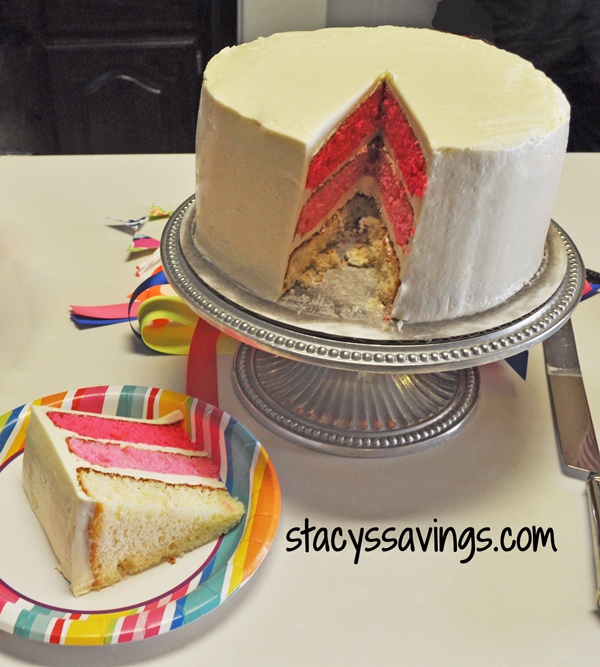
This was the first time I ever smooth frosted a cake, or even attempted to. It was much easier than I thought! I did use a lazy susan that my mom had, and it made frosting the cake so much easier! I didn’t have a non-slip pad, so I used a couple of paper towels under my cardboard cake base and turned the turntable slowly as I was frosting. It didn’t really slip around at all.
I had to make A TON of frosting to cover both cakes adequately. 3 batches. It was yummy!
The bench scraper is key to getting the frosting smooth. It was easy to use, you just don’t want to put too much pressure on it.
Everyone loved the cake and they were shocked that I made it myself! It was almost too pretty to eat, but we ate it all! There weren’t any leftovers.
So what do you think about my ombre birthday cake? If you like it, please pin it to your Pinterest boards!
Get more smash cake tips here plus learn how I made those budget-friendly cake decorations here!


Leave a Reply