You haven’t seen the playroom since the initial Total Home Makeover post, but the truth is, we haven’t done much in here. Over the last 4 years, we’ve done a Playroom Phase 1 Makeover. A Phase 1 Makeover is necessary for me to spend time in any room of this house.
Here are some pictures I took the day we got the keys:
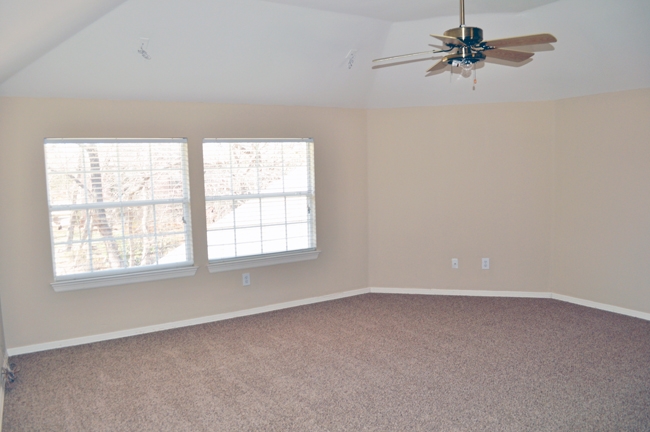
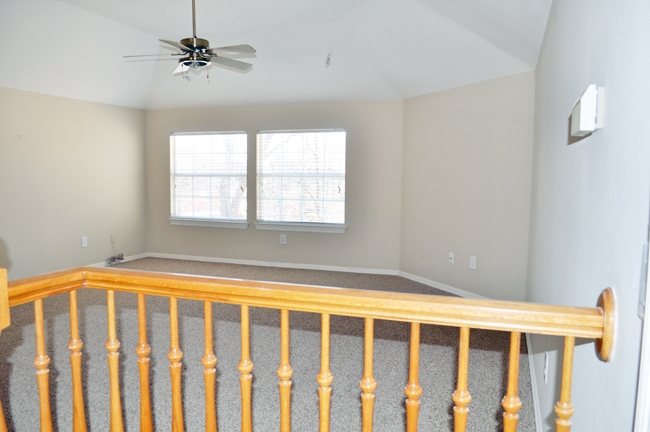
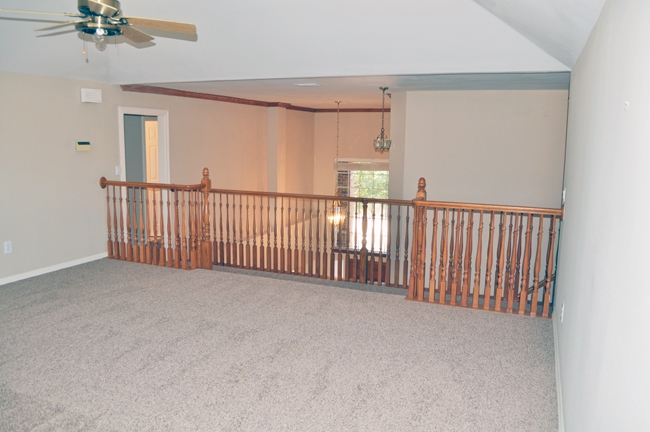

Lovely. This room is very hard to photograph since I can’t levitate over the entryway.
The playroom is a step-up, loft-type space. It’s a big, 16′ square room with a corner cut off. I knew that it would work for the multi-functional space I was looking for. This room is where the vast majority of the toys live, its our main TV & Movie watching space, and a place where we can all hang out and do our own thing.
When we moved in, we had the walls painted the same color grey as in the rest of the house, Bunny Grey by Benjamin Moore. We also moved the doorbell & swapped out the old thermostat with a Nest. We pretty much had all of the furniture that we needed from different rooms at our old house.
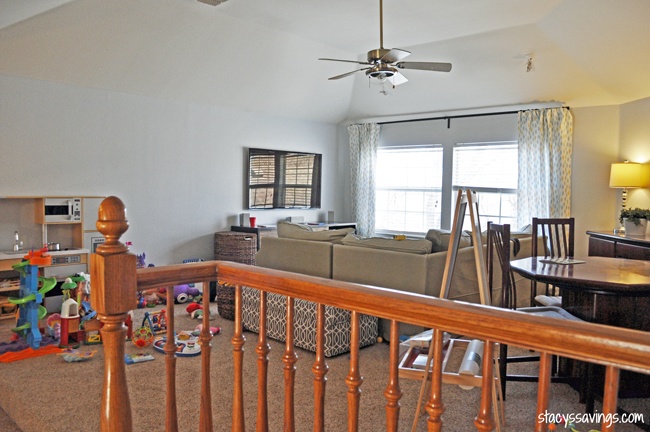
The furniture in the playroom consists of our TV, media cabinet, coffee table and sofa from the Den in our old house. That Pottery Barn sectional is about 14 years old and still going strong. I want to get a different slip cover down the road, but the construction is solid. That’s the best couch I’ve ever owned.

We also squeezed in my Grandfather’s Scandinavian dinette set that we inherited plus the matching sideboard from the old Dining Room. The table can shrink down smaller if we prefer later. I’ve always wanted a puzzle/game table, and this was perfect! The Kirkland’s Pottery Barn Knock-off iron tea light holder from our former entryway is hung over the sideboard.
We put my parent’s old 70’s storage ottoman that I had recovered behind the couch for bulky Wii equipment. I bought a curtain rod and clips from IKEA, and hung up the curtains I made for the Dining Room at our old house on the window. I haven’t hemmed them yet, as we want to replace the carpet with wood someday, so I just pooled them up at the bottom for now.
Right after we moved in, we added a play kitchen, and the easel from IKEA made its way in here, and it’s been this way ever since. We also removed some speaker wires that were hanging off the ceiling that we weren’t going to use. That is how the room looked for the first 2 years or so that we lived here.
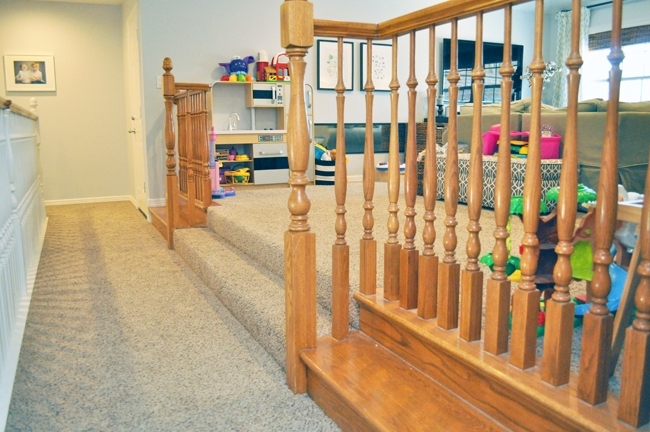
There are a few things that have always bothered us about this space.
The first annoyance are the spindles and railing that separate the room from the hallway/catwalk. We knew when we saw the house the first time that those railings were coming down. We didn’t even have them painted when we had the others painted because we knew they would be gone. Eventually, we’re going to replace those with some pony wall bookshelves that I’m going to build myself.
The other we hate in here is the ceiling fan. This room has a vaulted ceiling, and the ceiling fan is hung so that the fan is where the ceiling and walls meet. That is probably proper height for the fan – but it feels way too low over our couch. It’s also missing the globe for the light kit, so we never turn the light on because its an instant headache-maker. We use the buffet lamps on the sideboard & Doug’s new stairway lights for light in this room, but it could be so much brighter for the kids to play. During the day, its kind of cave-like.
After 4 years in the house, the playroom now looks like this:

We’ve been wanting can lights in here for a long time, but with the one diagonal wall, we were having trouble figuring out placement. We finally figured it out, so when we had our electrician out here for some other things, he told Doug that he should DIY the playroom lighting. Since we already knew how to install the lights, the wiring was the only new element. Pete explained to us how to wire it, and we did it ourselves last Saturday! We used the same recessed cans and dimmable LED lights from Lowe’s that we used to modernize the lights in the stairwell.

We picked up a $48 Iron & Walnut ceiling fan at Home Depot (It’s now $60), and we ended up hanging it about 1 foot from the ceiling instead of where it was before. I thought with the vaulted ceiling that having the fan that close to the ceiling probably wasn’t the correct way to hang it. But the fan works, its out of the way, and we feel the breeze just fine on the couch, so it’s the right height for us.
Ceiling fans aren’t the prettiest things to look at, but they are an absolute necessity here in Texas, especially on a second floor. This one was the least-obnoxious option, with a dark iron fan and walnut blades. Plus, the price was right. We picked up another for the Living Room downstairs.
While we were up there, we painted the ceiling flat white. That’s something we’re doing in pretty much every room little by little as we go. It makes everything so much brighter and crisp, even when the lights aren’t on. We really like Valspar’s Color-Changing Ceiling Paint. It starts out purpley-pink so you don’t miss a spot, plus it has a built in primer.
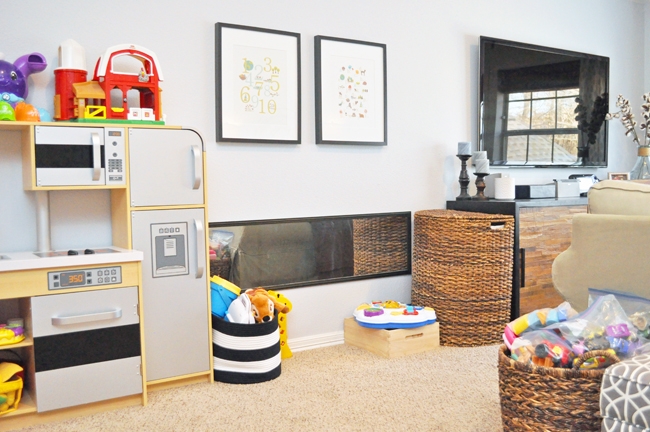
I also finally got around to hanging my daughter’s play space mirror. It’s just a cheap $7 dorm mirror from Target that I hung on the wall with Command Large Picture Hanging Strips. She loves to see herself in the mirror, plus its good for seeing the kids while I’m on the couch. The Hamper Basket and round toy basket are also from Target.
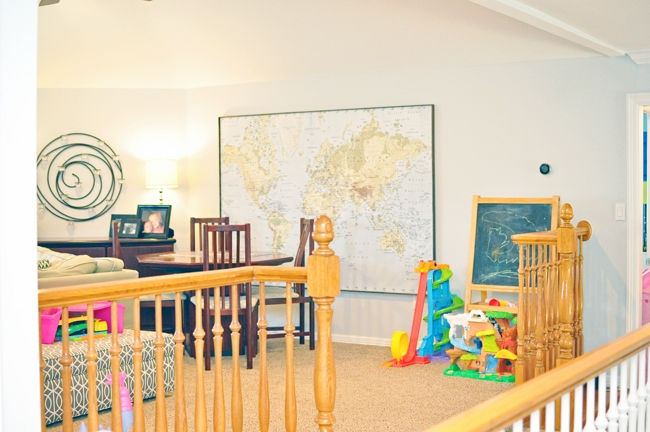
I also splurged a bit and bought the Large World Map from IKEA. I’ve always wanted one, and it was a perfect fit for the space. I used some cheap Lattice Boards that I stained with Minwax Dark Walnut to frame the map just like Sarah from Thrifty Decor Chick. Love that look! I used the same trick for the kid’s bathroom wall art.
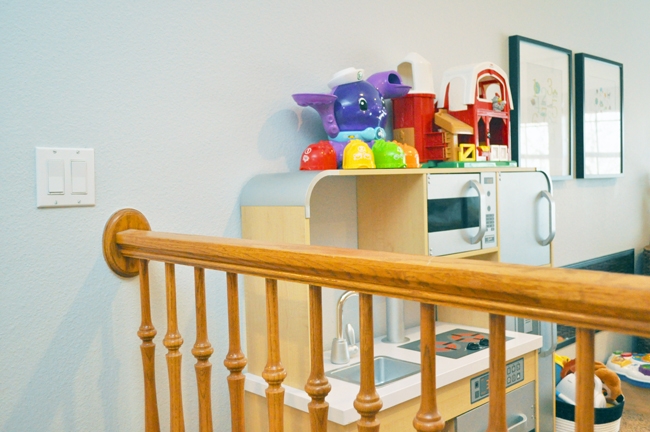
We’re slowly converting our home into a Smart Home, which I’m going to tell you all about in another post. In this room, we have the Harmony Hub to control the Entertainment equipment, as well as GE Z-wave switches to control the lights and fan speed. I really love the Z-wave switches because they look like normal switches! Our switches work with a Samsung SmartThings Hub, but I think the new Amazon Echo Plus has a smarthub built in already.
It’s really nice to be able to turn things off with our phone or tell Alexa to do it. Especially when the kids leave things on after they’ve come downstairs for dinner.
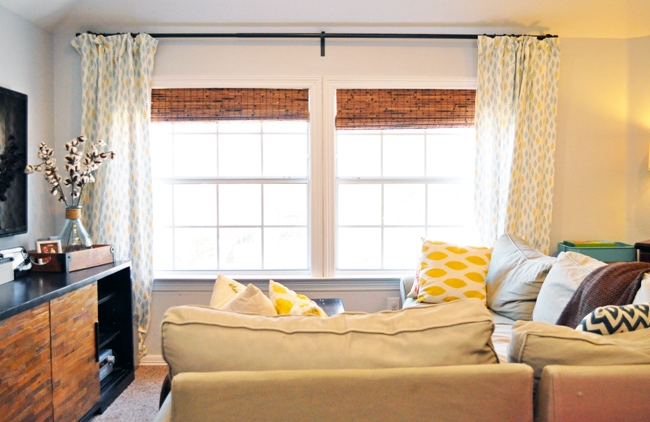
The last thing we’ve done in here is case the windows and replace the blinds with bamboo shades. That one change really took this room up a notch! This was a simple update that I’ve been slowly completing on all of the windows on the back of the house. I’ve got about 6 more to do in the master bedroom. These shades are the Premium Bamboo Shades with Blackout Liner in Java Vintage, which are no longer available. These are similar.
This room cost us about $250 for the recessed light housing, 12 gauge wire, ceiling fan, paint, and the IKEA Map ($129). I also spent about $250 on the materials for the window and shades. We already had the lights from our last trip to Lowe’s, but those were $60 total. A big transformation in a big room for less than $800!
I feel like this room is almost done! Here’s what is left:
Paint WallsRemove Speakers & Patch HolesPaint CeilingHang CurtainsFurnishReplace Blinds With Bamboo ShadesInstall Can LightsReplace Ceiling Fan- Remove Railing & Add Custom Bookshelves
- Future Computer Nook/Built In Desk?
- Wood Floors
- Replace Windows & Screens
A Playroom is something that we didn’t have in the old house, and was a Must-Have in the new house. It’s a great space to hide all of the toys, and I think it will be a fantastic space in the future as our kids get older. The lights and new fan go a long way to making it more livable, and there are WAY less headaches in here now.
As much as I love the fan & can lights, I love the cased windows & bamboo shades even more! I think I’ve spent more time in this room in the last few days than I have the entire time we’ve lived here. It’s such a nice space that we can all use!
4 years later, the spindles are still there, and they’re really starting to get to me. I’ve been finalizing my design ideas, and I’m thinking that may be a project for the Fall of 2018. We’ll see what the budget looks like then. Stay tuned!
So what do you think of our playroom? Do you have a playroom? What is essential in your playroom? How many recessed cans do you have in your house? I love recessed cans! I know some people think they are on their way out, but I just love how clean and unobtrusive they are. We’ve got a few more rooms that I want to add can lights to.
Tell us what you think of the transformation in the comments!
Check out all of the Stacy’s Savings Total Home Makeover posts here!

Jannine MacKinnon says
I love this playroom/multi use room! You’ve done such a great job with the updates and incorporating things for the whole family. I especially love the giant Ikea map!
Xo Jannine | http://www.happystylishfit.com
Stacy says
Thank you so much!
Belle says
Love the makeover! You did an amazing job!
Belle | http://www.OneAwesomeMomma.com
Stacy says
Thank you!
Lydia says
Love what you did with this room! What a great playroom!
XO http://www.lydialouise.com
Stacy says
Thank you!