If you are following me on Pinterest, you’ll have seen that I’m pinning a ton of vegetable gardens and raised bed tutorials. I’ve been wanting to build a DIY Raised Vegetable Garden for a very long time.
Space for a garden was on my want-list when we bought this house 4 years ago. I knew there was a perfect spot on this lot, but there were lots of issues to overcome. We had to remove 20 year old holly bushes. We also had to wait until the fence was moved to keep critters out. That meant we had to wait until the retaining wall was done. Those projects were finished this Winter, so it was time to build our DIY Raised Vegetable Garden!
We haven’t done much to the outside of the house, but we have resodded the yard, built cute patios in the front yard, did some updating in the backyard and resurfaced the pool. That last one was not DIY. No way.
The Issues

The spot for our raised vegetable garden is on the South side of our home. The bed will be next to our HVAC system, along the brick wall, and next to where the backyard/pool area starts. My vision for this small side area is to clean up the space, install some sort of official pathway, and grow food. Right now, we’re going to focus on the growing food portion, and work on the rest of that later.
As I was pinning, I found lots of different raised vegetable garden bed options. We have many animals living among us on the creek, mostly squirrels and bunnies. We need something tall enough to keep them out, but low enough that we can still work on the garden. Also, we wanted something slightly higher than the recommended 12 inches tall to make it easier for a disabled family member to help in the garden.
The Inspiration
In all of my pinning, I kept coming back to a raised garden bed on Wayfair. It was taller than 1′, and the black mesh panels would keep the animals out. The hinges to pull down the mesh panels are genius! I’ve never seen that before! I love the look, and I love the access. I didn’t love the price. Even on sale, it cost more than I had to spend in my budget.
I knew I could build a DIY raised vegetable garden very similar to that, so that’s what we did this past weekend, the first weekend of Spring Break. Getting the bed built this weekend is important, because we need to plant our crops before April.
Supplies
These are the supplies that you need to build my DIY Raised Vegetable Garden:
Affiliate Links Used
6 Cedar 10x8x2 boards
1 Cedar 2×4
2 Boxes of 3″ Deck Screws
8 Cedar 2×2
6 Hinges
3 Eyelet Hook Latches
1 Barrel Latch
4′ Level
Miter Saw (or have the store cut the boards to size for you)
Drill & Impact Driver Combo
Small Carpenter’s Triangle
Black Mesh
Staple Gun & Staples
Snips to Cut the Mesh
Building the Base
First, I started by measuring the space. Our raised veggie garden will be 9 feet wide by 4 feet deep. On Friday night, we loaded up the kids to go to Lowe’s and buy our wood. We chose cedar, and ended up buying 6 10’x8″x2″ boards, plus a cedar 2×4 for the supports. Cedar isn’t cheap. These boards were about $25 a piece and the 2×4 was $8. Hopefully with the 2″ thick boards, the box will last long enough to make the cost worth it. Make sure you’ve chosen straight pieces of wood so that they assemble easily.
We started with building the base of the bed, and it took us about an hour to assemble. I measured my boards, marked my cuts, and cut them down with my mitre saw. I cut 4 9′ boards and 4 4′ boards. You’ll have enough left over for a small 1×2″ bed if you want.
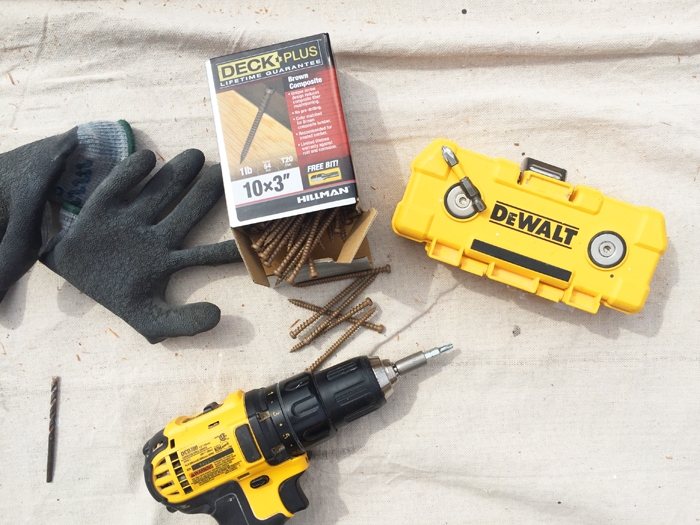
After that, it was time to assemble the box! I used 3″ deck screws to put the box together. You want to use deck screws so that they won’t rust. I also predrilled all of my holes to avoid splitting the wood.

Assembling the box was very easy. I laid out two of the front boards together, and connected them with a piece of 2×4 cut to 17″. This will give me a 1″ overhang to act as a foot for easy leveling. I placed one at each end and another in the middle. Then, I repeated this step for the boards that would be the back of the bed. I used 3 screws for each board, so 6 screws for each 2×4. An impact driver and drill combo made this step go really fast.
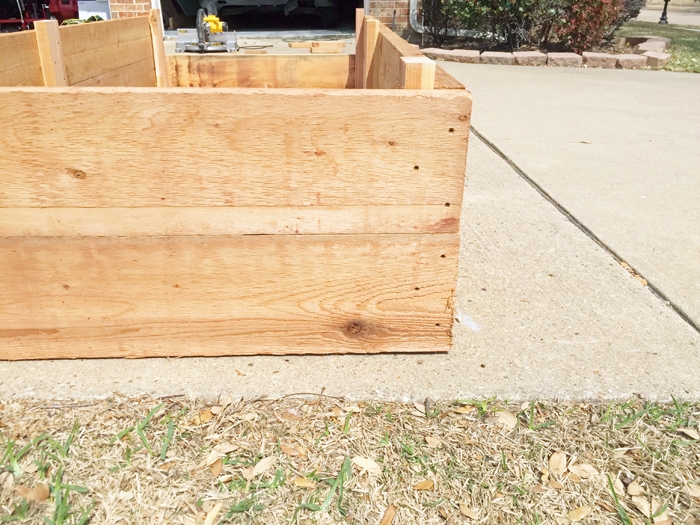
Once the two long sides were put together, I stood them up on their tops with the feet in the air. I placed one of the short boards on the side, making sure they were the same level as the completed sides. Then, I drove a screw into each end to get the box square. Once it was square, I finished screwing in that board on both sides, and added the bottom board.
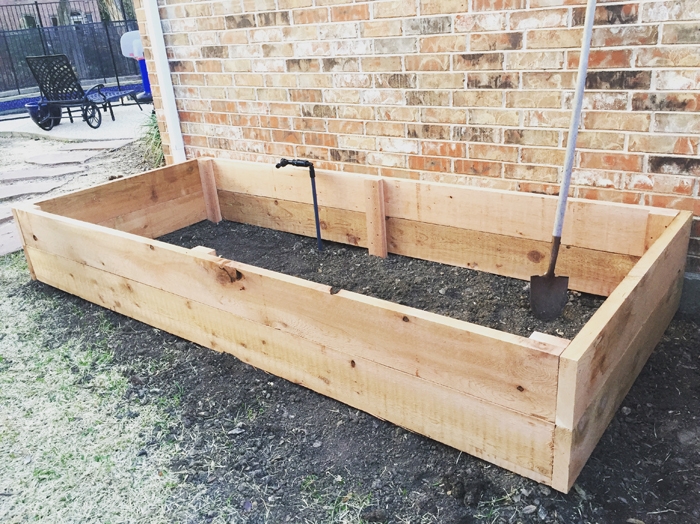
After that, I just repeated that step on the other side, and my box was done!
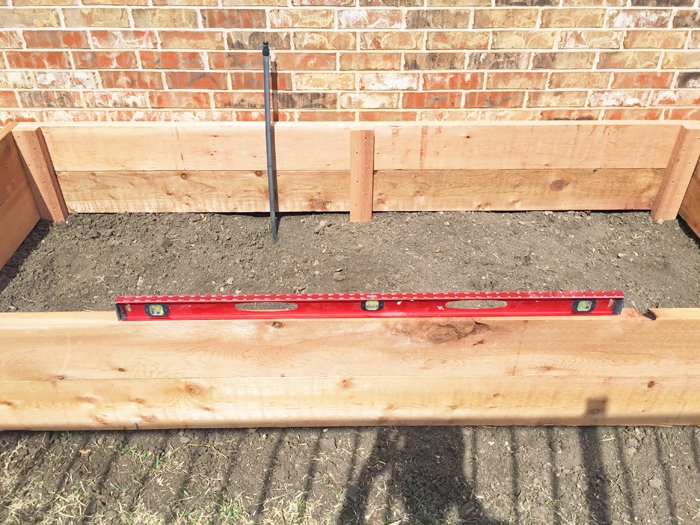
This 9′ x 4′ bed is heavy. I wanted to use 2″ thick boards because they will last longer. We had to get Doug2 from across the street to help us place it in the yard. I checked for level and used a mallet to strike the 2x4s to level out the bed.
Building the Bunny Gates
Now it was time to assemble the mesh panels. I actually did this separately the next day. My son and I went to Lowe’s and bought 8 cedar 2x2s, black mesh, 6 black hinges, some eyelet hooks & 1 latch, and more deck screws. Once we got home, we measured our 2x2s and cut them to 8 pieces at 52″ long and 12 pieces at 11″ long. The pieces for the side gates are 41″ long. You will have a little bit of excess left over.

After I cut my boards to length, I screwed the 11″ pieces into the longer pieces, making sure they were square as I went. I made the side pieces screw into the cross pieces because I wanted to limit the screwheads exposed to the elements. This way, they are hidden on the sides.
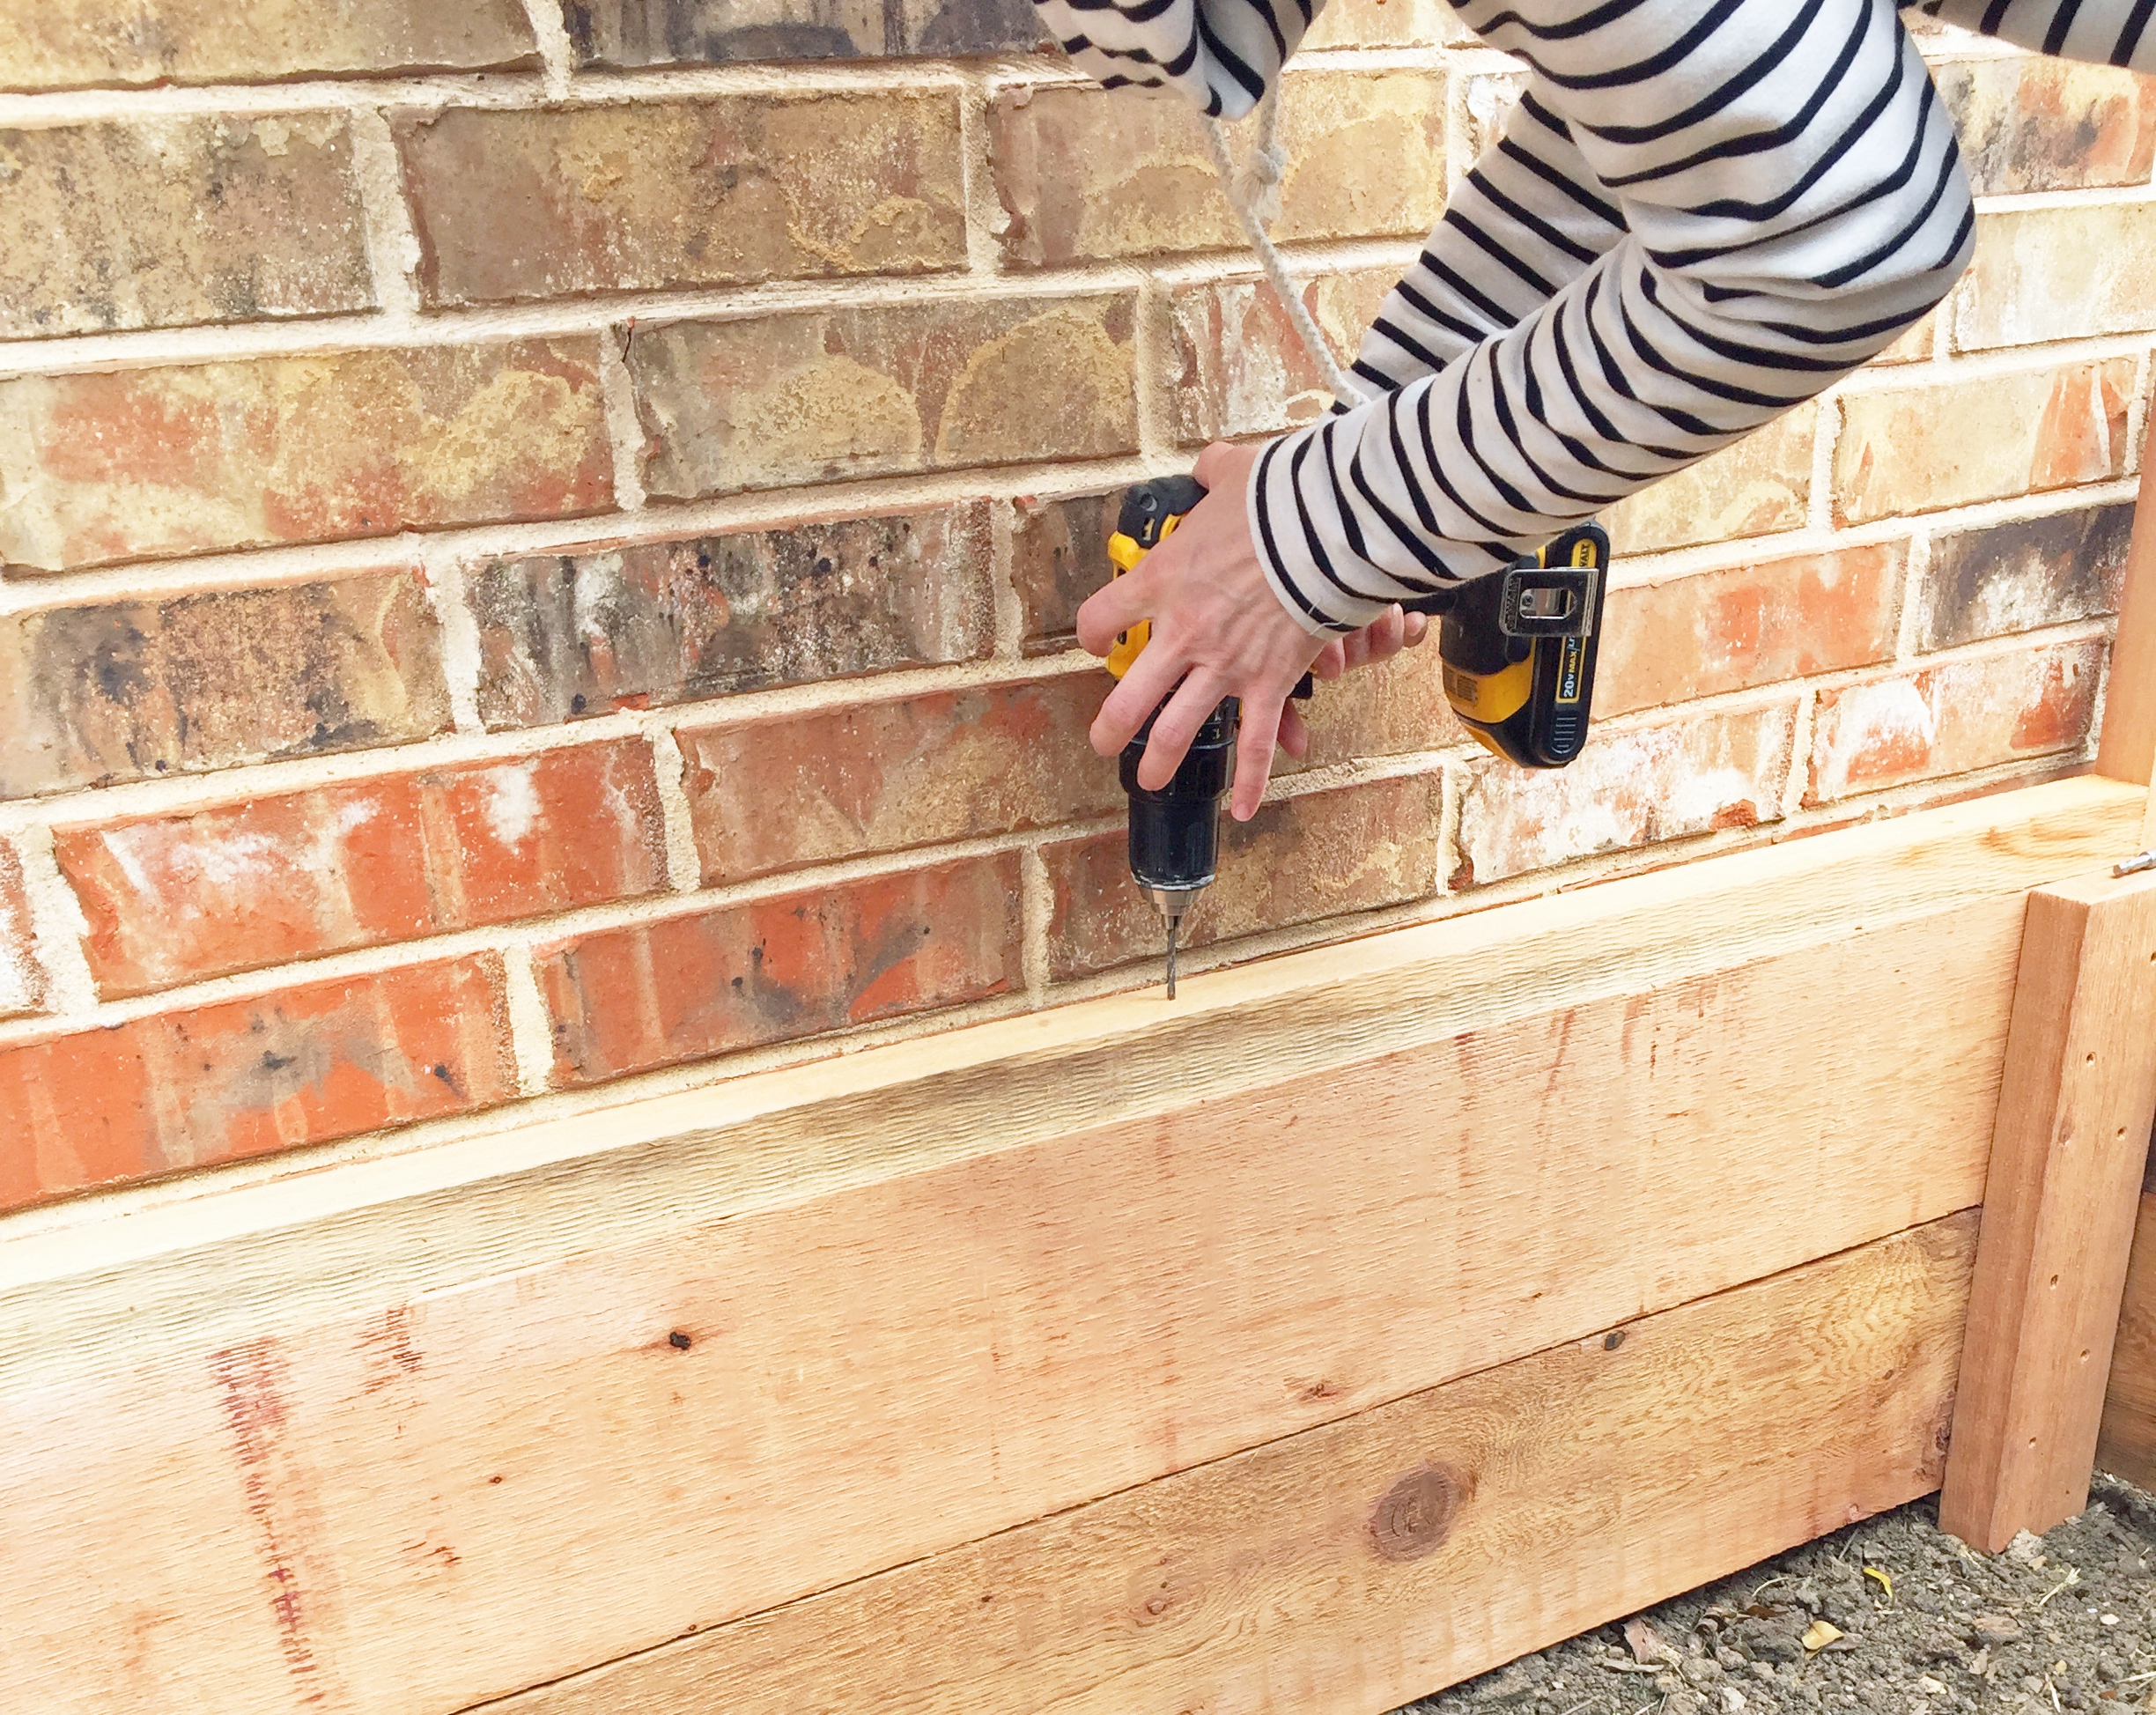
Since this bed backs to our house and is up against the HVAC unit, I made only the front two gates and the left side gate moveable. For the back two panels and one side panel, I had to assemble those on the actual bed. The reason is because since those were stationary, I wanted to drive screws from the bottom of the mesh panels into the top of the raised bed. I was able to do that with one panel, but for the others, I sort of had to make Cs (top, bottom and one side) and then carefully pull the top piece out to access the screw head. It was tricky, but it worked. I also drove a screw through the side pieces to connect the stationary gates to each other.
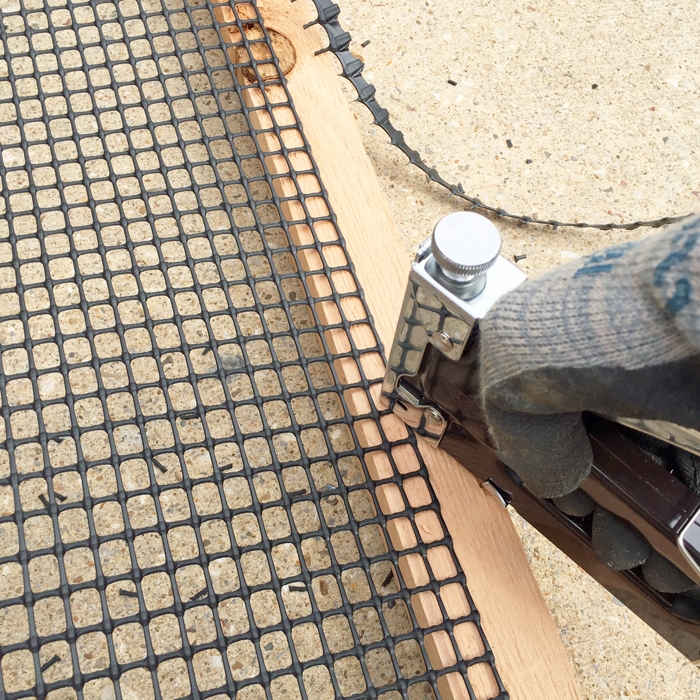
Once you have your 6 frames, you just cut the black mesh to fit with snips, and staple it to the back with a staplegun. You now have 6 completed gate panels!
Installing the Bunny Gates

For the three movable gates, we installed 2 black hinges on the bottom.
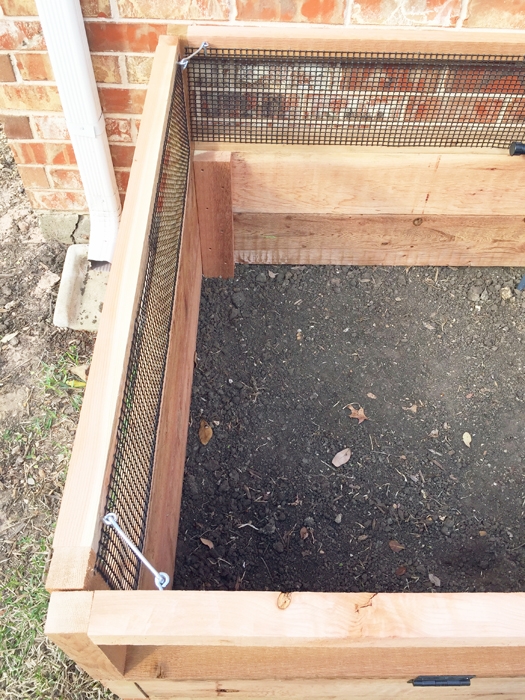

To keep our gates up, we used 3 eye hooks on the inside top corners, and one latch in the middle.
The Finished Vegetable Garden


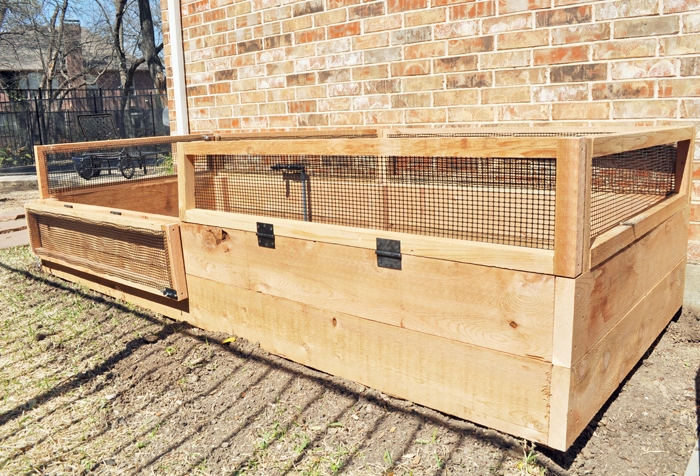

That’s it! I really love this bed, and I absolutely love that I didn’t have to spend $400 to buy a pre-built one. All in all, this project cost about $225. Not cheap, but so much better than the $400 version. I like mine better because the wood is thicker, and I know it hasn’t been treated. It’s also a custom size to fit my space. It should last quite a long time.

The main box took me an hour to build, but the bunny gates took longer. It was maybe 3 hours to construct the bunny gates and finish installing everything.
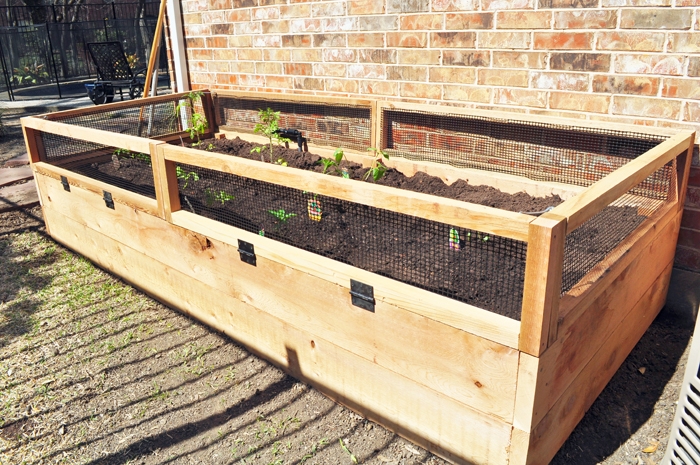
I’m still trying to figure out the irrigation. We have a capped sprinkler in here in the case that in the future there’s some option to reduce the flow for drip irrigation.
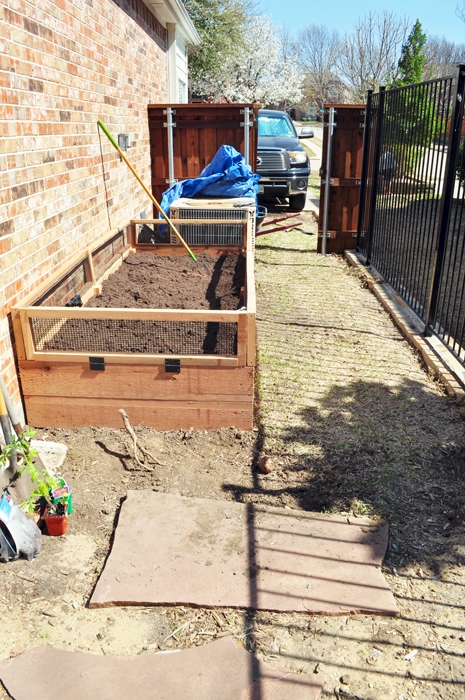
Now that the garden bed is complete, this whole side of the house is really bugging me. Also, it is tricky for some of our family members to get over here. This is probably our next project out here, but we might hire this one out. We’ll see.
Here’s an image to pin for later!
Have you ever built a vegetable garden bed before? This was my first attempt and it was super easy. I’m so excited to have a veggie garden this Summer and learn how to grow food with my kids. I just hope my crops last through the Texas heat. I want to hear what you grow in your gardens and what your must-have gardening items are! I’m so excited to plant! What do you wish you had known when you started gardening?
Want to see an update of our backyard space? Check out the 2020 Summer Spaces Blog Hop that I took part in.
Check out all of the Stacy’s Savings Total Home Makeover posts here!
I’m sharing this project on the Friday Favorites at Remodelaholic! Go check out all of the other awesome DIYs & get inspired!


Nicole Hogan says
I just stumbled upon this post and this is absolutely perfect. Just what I’ve been looking for. I just refused to pay $500 for the one I originally saw. Thank you so much!
Stacy says
Hi Nicole,
Yes! I am always looking for ways to build things I see for less. There was no way I was paying that much knowing how much lumber costs at Lowe’s.
Good luck with your project & thanks for checking out the blog!
~Stacy
Marilyn Lesniak says
Congratulations! Your post was my feature pick at #WWBlogHop this week. Visit me at https://www.marilynstreats.com on Tuesday evening to see your feature! All hosts choose their own features from the comments left on their blog so be sure to stop by and see your feaure. I invite you to leave more links to be shared and commented upon. Please be sure to leave your link number or post title so we can be sure to visit!
Stacy says
Thank you so much! What an honor! I’ll go check it out!
Thanks again – Stacy
Tiffany says
Great blog! Very creative idea. Thanks for sharing the steps on how to create this garden bed! ♥️ ♥️ By any chance you are interested on doing collaborations, you can check out the collaborations portal of Phlanx.com and connect with amazing brands!
Xoxo,
Tiffany
Ashley says
Hi! Visiting from the Remodelaholic Link Party! 🙂 This is such an awesome DIY, they turned out so good! I love the bunny gates, so cute and practical!
Stacy says
Thank you!
The Foodie Journey says
Ok now that is seriously an awesome raised garden bed!
Love how you can open and close it, such a clever idea!
Stacy says
Thanks! Let’s just hope I can grow something in it!
Samantha says
This is beautiful! My husband and I are making a raised vegetable garden for our first time this year, and are building something similar. Yours looks a lot more complicated though!
Stacy says
Thank you! This is not complicated. It’s a box, with some other boxes on the top. You can do it!
Randi says
This is so helpful!! I’m just about to make mine and i was wanting something like this!!
Stacy says
I’m glad it was inspiring! This is super easy. You can do it!
Erica says
This is awesome. I have wanted to make this for years.
Stacy says
Me too! I kind of can’t believe this was the year!
Kirsten says
I want to do this! Thanks for all the tips!
Stacy says
Thanks for reading!
Belle says
I love how awesome it turned out! You did such an amazing job! I wish I’m as good with this as you!
Belle | http://www.OneAwesomeMomma.com
Stacy says
Thank you! I used to not know how to do any of this stuff. But, I wanted things improved in our home and couldn’t afford to hire it out. So I figured it out instead. You can too!
Jannine MacKinnon says
You did an awesome job! I love raised garden beds and I really like you mesh panels on hinges!
Xo Jannine | http://www.happystylishfit.com
Stacy says
Thanks! I wanted to make it cute AND functional! But really cute first.
Lola says
Lol don’t think I could ever know how to make this. I love How it looks very sturdy!
Stacy says
Yes you can! It’s just a box with screws on 4 sides! LOL
Lydia says
Omg I love this!!!!! I want to make one!!
XO http://www.lydialouise.com
Stacy says
Do it! It’s easy!