2017 was going to be short on house projects, but I did have a few small ones planned. I just wasn’t sure when I was going to do them. Building wall-to-wall floating shelves in our Home Office was one of those projects. I finished these last summer for about $200!
When we converted the formal living room into a home office for Doug, I always had the intention of building wall-to-wall floating shelves above the cabinets. I envisioned a place to display books, keep important documents, and showcase family photos & treasures that tell our story. To me, any real home office has display shelving.
If you’d like to see more of our Formal Living Room to Home Office Conversion, check out why we decided to do that and how we got the wall built. This was probably the best remodel decision we have done in this house to date. We use the rooms so much better now, and it makes the whole house more useful.
Timeline Issues
Originally, I wanted to get this project done in April, but I kept putting it off because we were coming off the master closet project, and I thought we needed a break. We had a really busy June & July planned, so in May, I decided that these wall-to-wall floating shelves needed to get done before the crazy busy schedule started.
The real reason this project had to be done in May is so that the paint could actually cure 30 days without me trying to style the shelves. That’s the real reason. I have no patience.
The reason this was delayed from 2016, when the office was built, was I couldn’t decide exactly how to build them.
If you follow me on Instagram, you’ve seen a sneak peek or two of the final reveal.
Construction
The wall-to-wall span is almost 12′, which is difficult for any floating shelf. The problem is sag. You don’t want your wall-to-wall floating shelves to sag in the middle. There was definitely math involved. I’m not exactly sure I built these wall-to-wall floating shelves right, but I’ll go ahead and tell you how I did it. I’ll also tell you what I might do different if I had to do it again.
I knew I wanted the floating shelves to be no thicker than the shelves in the craft room/guest room that I built last summer. So with that in mind, we headed up to the Big Blue Store. We purchased about $180 worth of wood & other various supplies. I think we used plywood for the tops, 1/4″ plywood for the bottoms, 1x2s for the supports, and a 12′ Poplar 1×3 for the fronts. I built the wall-to-wall floating shelves in about 3 hours, pretty much by myself. It was nail gun fun!
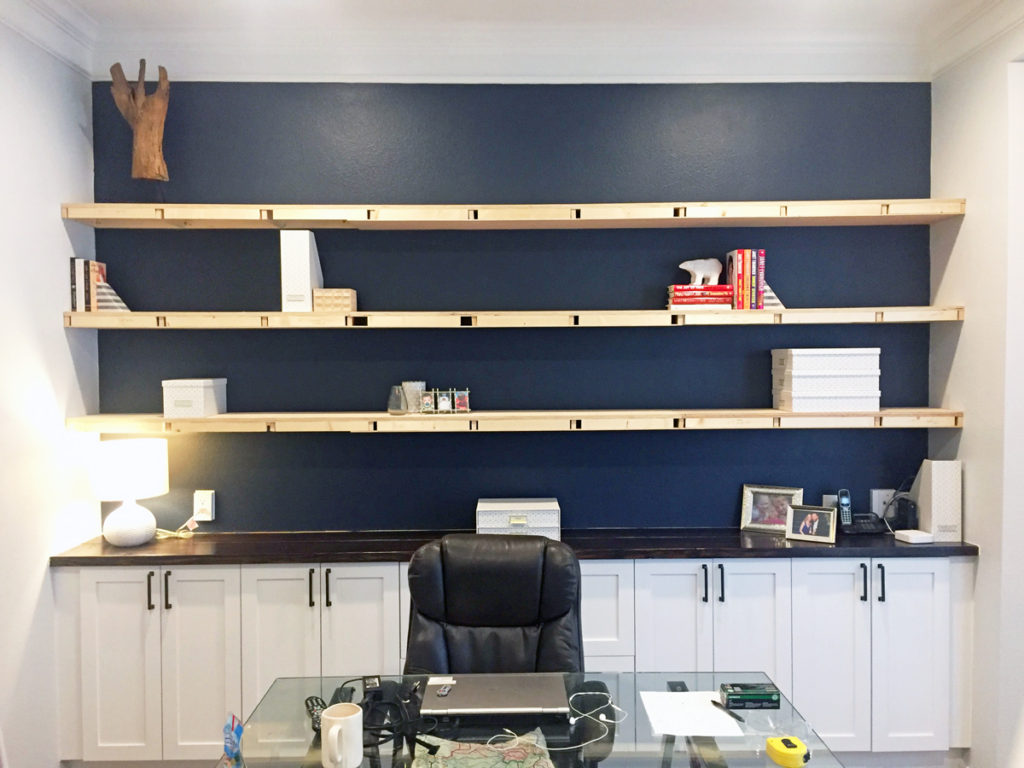
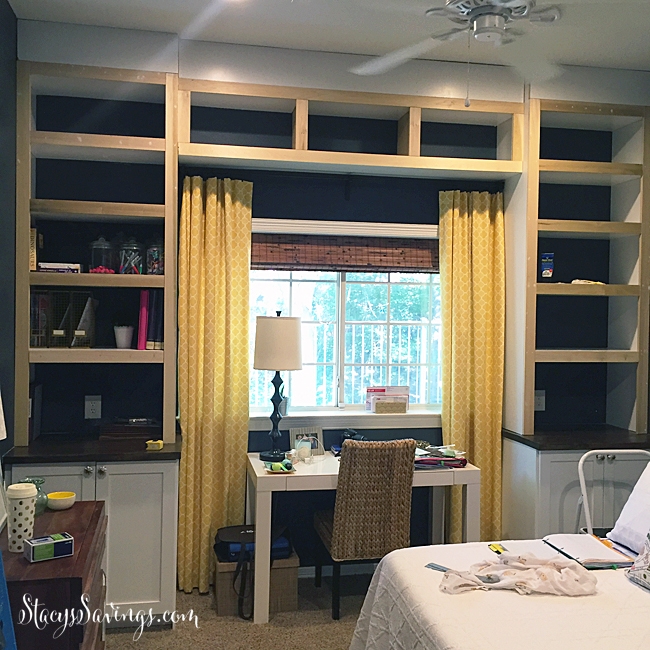
First, I marked where I wanted my shelves with painters tape. Then, my 7-year old helped me mark the studs with chalk & use a chalk string with a laser level to get a level line all the way across.
After that, I installed a back cleat with a 1×2 using 3″ wood screws into every stud & 2 on the side walls.
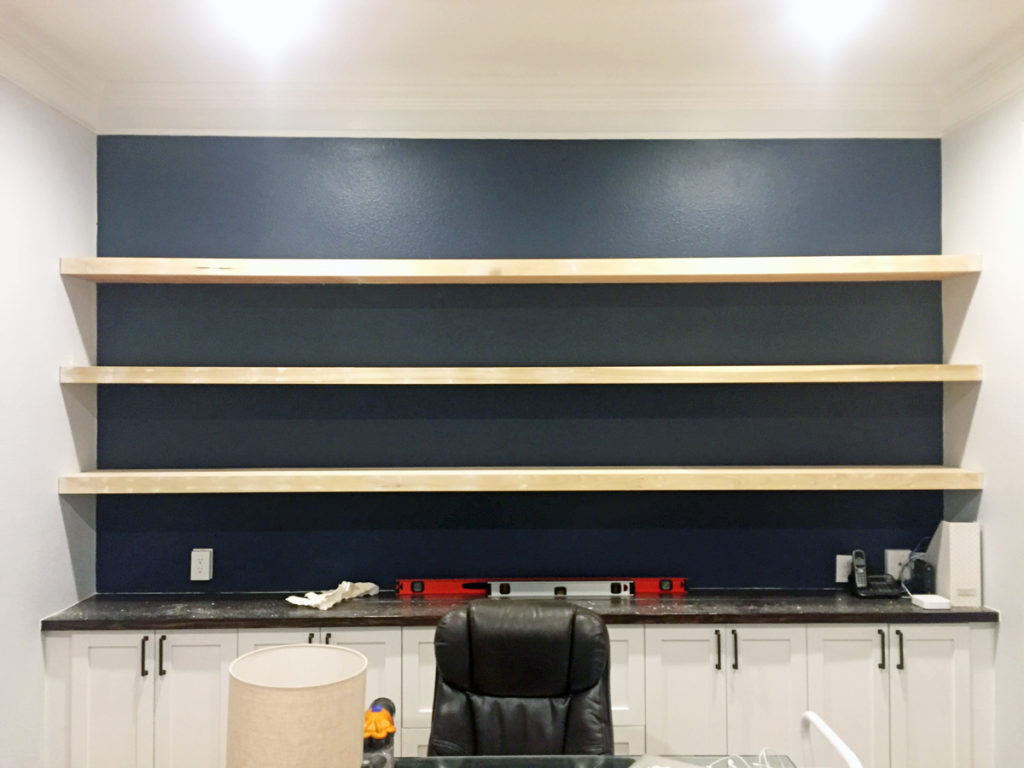
Then, I installed the shelf tops (11.25″ strips of 3/4″ plywood) using my brad nailer. After the tops were in place, I added support posts from the cleat to the front of the shelf using clamps & my brad nailer, as well as front supports the same way. I also used a framing nailer to fire some thick framing nails diagonally through the perpendicular supports into the back cleat & studs. Who knows if that is supportive, I just thought it couldn’t hurt.
I would definitely recommend a 1′ level and at least a 4′ level for this project.
At this point, we had to take a little break and clean up. We had a 5-year old birthday party to throw, so we couldn’t leave it all messy. I had fun and styled the shelves.
Finally, I installed the bottoms (11.25″ strips of 1/4″ plywood) and the fronts (poplar 1×3).
***If I had to do this again, I’d probably try to do two 3″ wood screws on each stud, one on top of the other, if I had the space. I just think that would give it more support.***
The reason why I built the shelves this way instead of building E Frames first and then installing those, is because I was afraid I wouldn’t build the E frames level. Its really difficult to find straight wood at the Big Box Stores.
With the construction of the wall-to-wall floating shelves out of the way, it was on to the boring stuff: puttying, sanding, priming, caulking & painting. I used an oil-based primer, Zinzer Cover Stain. It smells awful and is super messy, but it covers dark spots & knots in the wood in one coat. I used my favorite trim paint, Benjamin Moore’s Advance Satin in Decorator’s White, for the paint. This is my go to paint for any trim work, shelves, doors or cabinets. It self-levels, so you don’t really have to worry about bubbles. It’s also water-based. It’s really wonderful stuff.
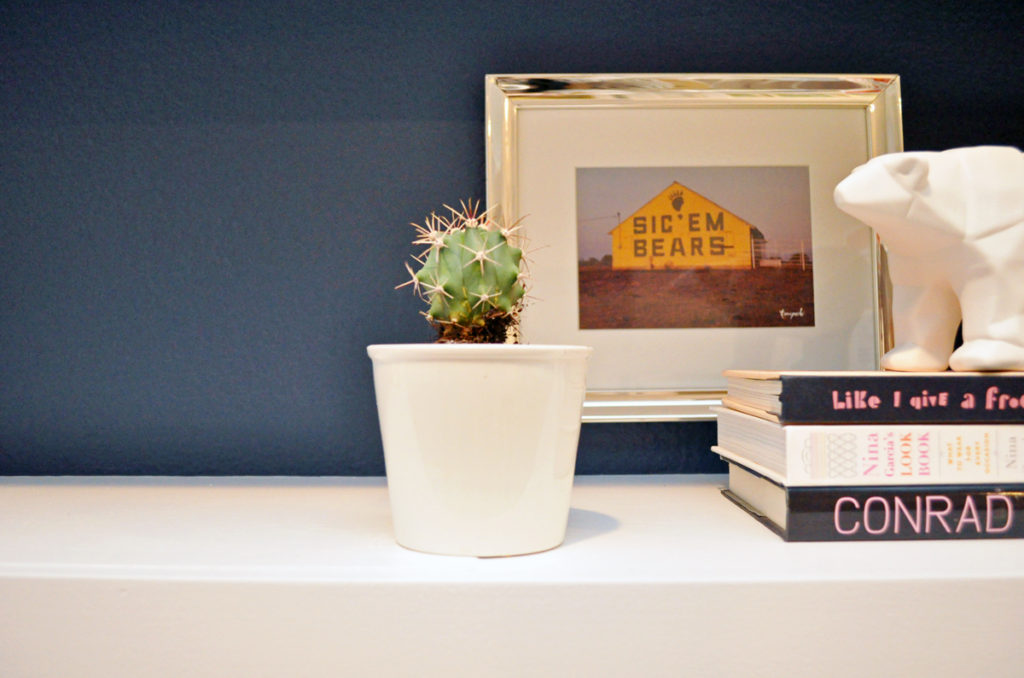
Here’s the finished product!

I love these wall-to-wall floating shelves! Its always so much fun to actually get to see what you’ve been seeing in your head for years!! I’ve been collecting items to style these shelves and make them functional, and I finally get to display them! So exciting!
These shelves give us an opportunity to clear out some of the stuff that’s been sitting in those cabinets, and we can get more organized. I’m very excited about that part!
All in all, we spent right at $200 on this project. That includes wood, paint, primer, screws & caulk. I already had the nails and nail guns. A lot of impact for $200!
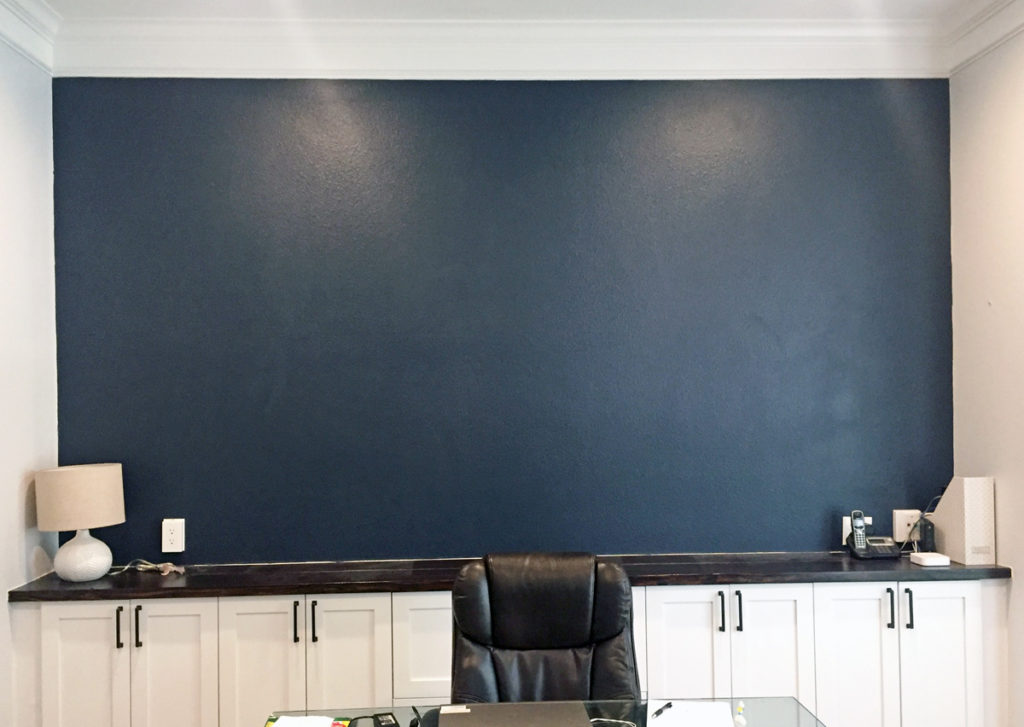
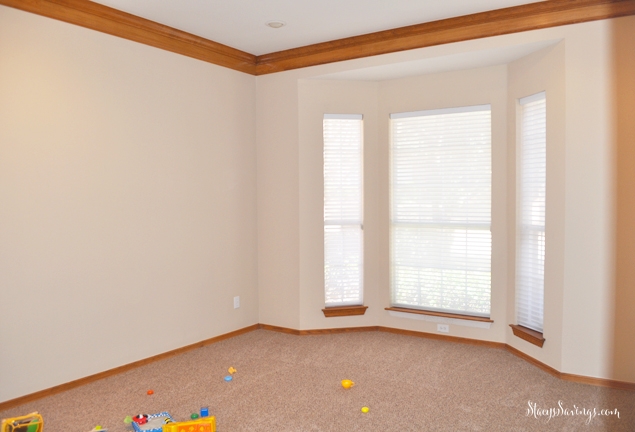
Here’s what the room looked like before:
And after:
This room is pretty much done for now. There are a few projects to do, but I don’t think those are on the horizon anytime soon. Here’s what we have left:
Build Walls & Install DoorPaint New Walls to Match HouseRemove Carpet & Prepare Subfloor for Built InsInstall IKEA Cabinet Rail & Hang CabinetsReplace Light Bulbs with LED retrofit lightsInstall Baseboards & Door CasingsPrime & Paint Door/JambInstall Door Hardware & New Chrome HingesBuild, Install, Stain & Poly CountertopOrder, Prime & Paint Cabinet DoorsInstall Cabinet DoorsOrder & Install Cabinet HardwareNew Desk& Chair- Fix Windowsill
- Case Windows
Build & Paint Shelving- New Curtains/Decor
DIY Pull Out Cabinets for Office ElectronicsOffice Supply Storage & Organization- New Windows
- Hardwoods
- Plantation Shutters
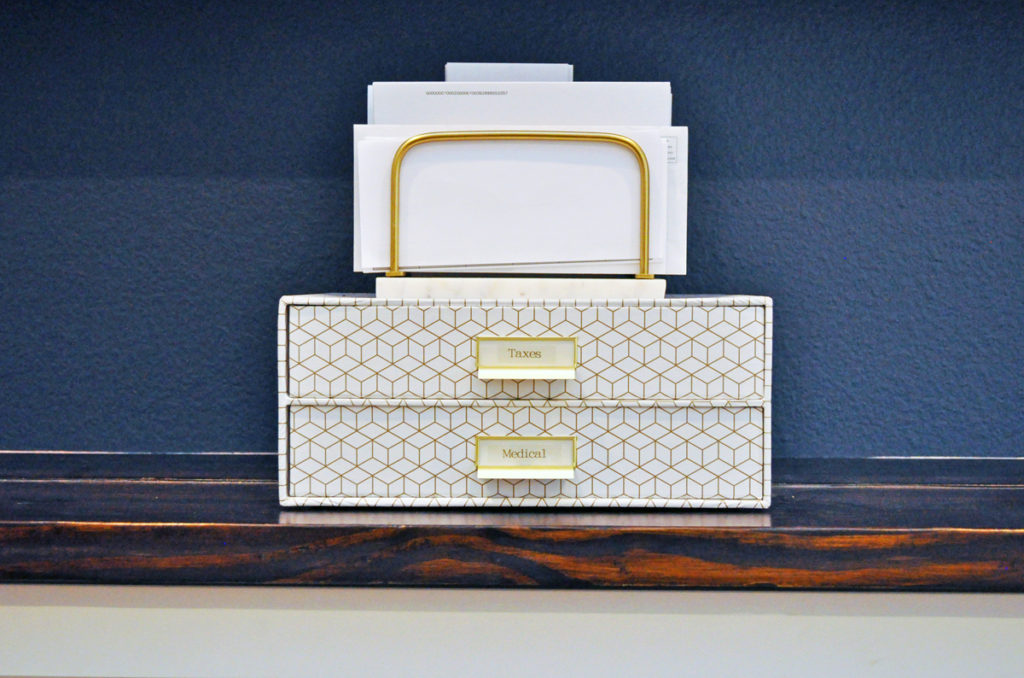
Late last year, I picked up a bunch of cute things during a World Market Home Office sale. It happens in July/August. I was able to snag this gorgeous marble & gold letter holder, a white globe to pop against the navy wall, and this farmhouse sliding calendar that I saw an exact replica of at Magnolia for WAY more money (similar calendar available here). The matching boxes, drawers, and magazine files I found at HomeGoods last year (they have hexagons on them!!!!), and I also snagged that striped marble bookend there for WAY less (it was $15!!!) than the identical one at West Elm.
I’ve been looking at Home Goods for some curtain options. I think next time I may purchase some to bring home and see what I like. I’m not really sure what I want in here. Do I want a print or a solid? Navy or grey? I’m just not sure. The rest of the items are expensive, except casing the windows. I’m not sure I want to do that until I know when we’re going to do the Plantation Shutters, and that is definitely not in the cards for this year.
So what do you think? Do you think you could tackle this project? It was so easy and it didn’t take much time at all. I think you could do it!
Don’t forget to check out the rest of the Formal Living Room to Home Office Remodel Posts to see how we got here!
Check out all of the Stacy’s Savings Total Home Makeover posts!
I’m linking this project to the Thrifty Decor Chick’s Before & After Link Up!










Jacqueline Flowers says
This looks great. I still don’t get the full picture of how you made the shelves.. do you have a video?
Stacy says
Hi Jacqueline!
Video wasn’t as mandatory back when I built these shelves as it is now. BUT, if you go to my Instagram Reels, I do have one of where I built some smaller shelves in my bathroom where you can see video. I also think there’s some highlights of building shelves both in my bathroom and at my Mom’s house. https://www.instagram.com/stacyssavings
I’m have a plan to have a new floating shelf tutorial blog post this Spring.
Hope that helps!
~Stacy
Lu says
Hi Stacy I love your project, I’m wondering how much weight would you say the shelves can hold. I am ready to do this project and I don’t want my shelf to be thicker than yours but I’ll intent to place heavy book on them. Do you think they are strong enough?
Thank you so much!
Stacy says
Hello!
I’m not really sure of the official weight limit. I did use 3″ screws into the studs on all 3 sides. I tend to keep my heavy books on the ends next to the wall, and lighter books in the middle. They were always intended to have little vignettes on them, not full of books from end to end. So I planned my vignettes with the heaviest books against the wall. I hope that helps & good luck with your project!
~Stacy
Katie says
Thanks for the great article. I did something very similar in our home office…thanks to you!
Stacy says
Awesome! I would love to see it!
~Stacy
Laura Burton says
Oh my goodness, I LOVE your shelves. We’re building a house and I am looking for DIY projects for my new office. I love the look of the shelves running across the entire wall. Stopping by from the before/after link up.
Stacy says
Thank you so much!
~Stacy
Hillary says
Hi! Love this and am copying for my son’s playroom! Do you mind sharing the height of your lower shelf from the floor as well as th distance between the shelves? Thanks!
Stacy says
Hi Hillary! Don’t mind at all!
The Countertop is at 36″, the bottom of the first shelf from the floor is 54″ (20″ above the counter to clear the lamp + space above), the shelves are 2.5″ tall, and there are 14″ between each shelf. Hope that helps! Tag me in any social posts of your shelves! I want to see your finished project! I’m jealous of all of the nail gun fun you’re about to have!
~Stacy
Belle says
Love how the floating shelves turned out! It totally transformed the wall!
Belle | http://www.OneAwesomeMomma.com
Stacy says
Thanks! I totally agree!
~Stacy
Lydia says
Woah the finished product is amazing! Awesome job!!!
XO http://www.lydialouise.com
Stacy says
Thanks!
Lola says
Wow you totally transformed the room! I love that entire area, it’s so beautiful and functional. I wish I had an area like that that I could transform
Stacy says
Thank you! I can’t wait until the rest of the room is done.