A few weeks ago, I let you in on our plans to build a bar in our old Living Room media cabinet space. Let’s check out the progress we’ve made on our DIY Built In Bar!
We’ve been working hard for the last two weeks, and we’re in the final stretch! The to do list for this job is much shorter now than the completed list! That’s always a good feeling.
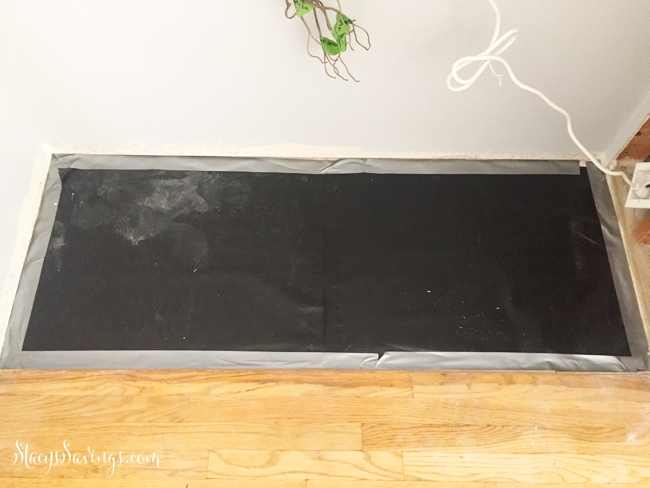

Prepping the Space for our DIY Built In Bar
The first step in building our DIY Built In Bar is to install some subfloor over the exposed slab. We did the same thing that we had done in the office by putting down some moisture barrier plastic with duct tape. Then, we nailed the subfloor into the foundation using a Powder Actuated Tool . That tool is super fun!
I know you’re not supposed to put a tv over the fireplace for ergonomic reasons, but that’s where ours is. Our mantel is pretty short & I like how it combines the focal points into one. The problem with fireplace TVs is the components. I didn’t want to see wires, and I didn’t want to see the components if I could help it.
We needed direct sight to the A/V equipment boxes. Figuring out how to get the look that I wanted for the bar with these practical needs in mind is tricky. While I was using the IKEA Home Planner to come up with the layout of Cabinets, I had a genius idea: why not build a cabinet into the wall?
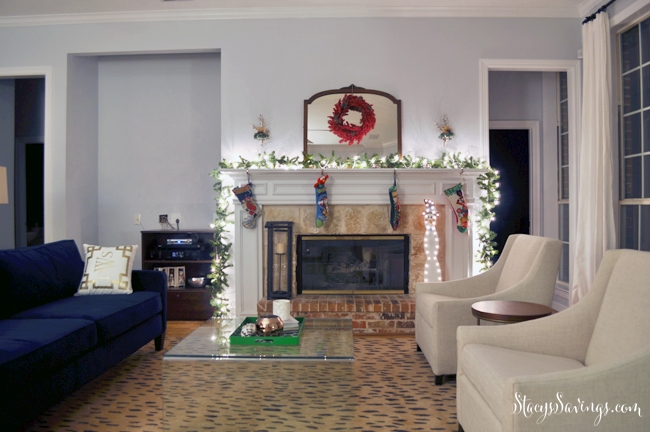
Our mantle is really wide, and I figured that the fireplace was one of those metal inserts with concrete brick inserts. If that’s the case, there’s almost 2 feet of void space behind the left side of the mantle. That space is also the right wall of our DIY Built In Bar space. I knew I could fit a 15″ tall by 21″ wide cabinet frame there if I had the space. Before we went to IKEA, I cut a hole in the wall and peeked in with the flashlight on my phone.
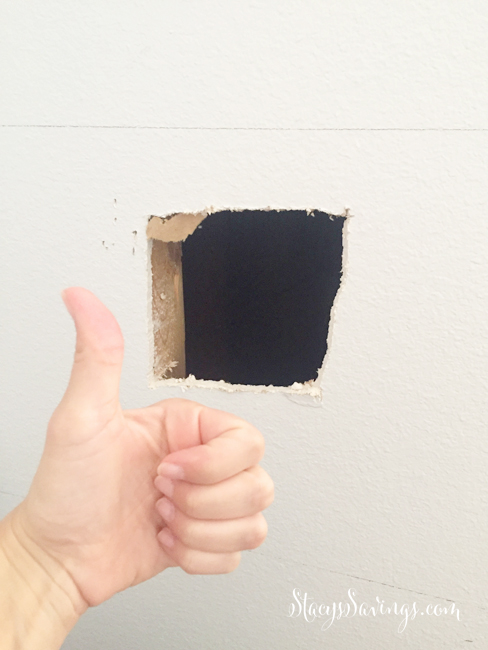
Score! Just like I thought!

With that, we made a trip to IKEA to get our cabinets & countertop.
The Media Cabinet
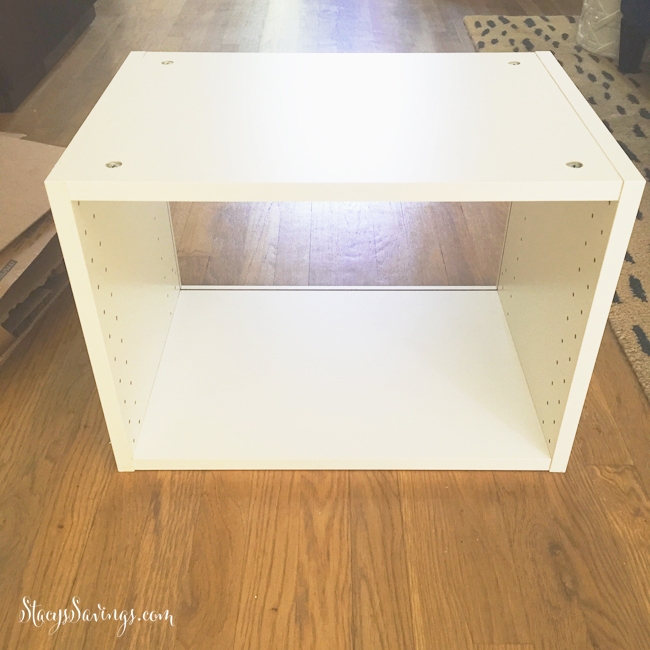
The only thing I had to hack for this DIY Built In Bar was the recessed media cabinet. IKEA doesn’t make a 15″ by 21″ frame. That is what I needed to fit the width of the stereo receiver and also fit within my backsplash area. So I bought a 15″ X 15″ cabinet and a 21″ x 20″ cabinet. Then, I put the long widths together with the short sides. Because the Sektion is modular, it has all of the same holes no matter the size. Instant perfect-sized cabinet & an easy hack!

I decided to go ahead and cut the whole length of the wall below the area where the cabinet goes. That way, I could get back there to reinforce the framing. We needed to add framing that we could screw the cabinet into. I also wanted to add a back support just in case things got heavy. It was probably overkill, since the cabinet is screwed into the studs & frame several times, but it gives me peace of mind.

We were lucky that two of the vertical studs were exactly the width that we needed. We had to cut into one of the studs, added 2 supports and 3 cross supports for the top & bottom of the frame to support the load. This is not a load bearing wall. There is just empty attic above.

Once the framing was done, I put the drywall back on and taped & mudded the seams.
DIY Built In Bar Drywall & Electrical

When we took the original built in out, the ceiling of this area was 14″ higher behind a header. We decided to cover up that space for our DIY Built In Bar. There isn’t enough front clearance to get wine bottles out or open doors. So we decided to drop the ceiling & add drywall.
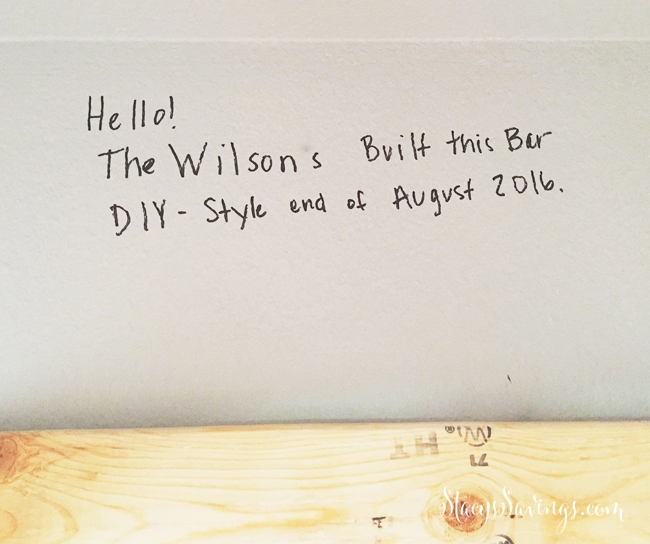
I took the chance to pull out a Sharpie and add a little note to future homeowners. I hope they never see it! Then I wondered, if they do see it, what year will it be?
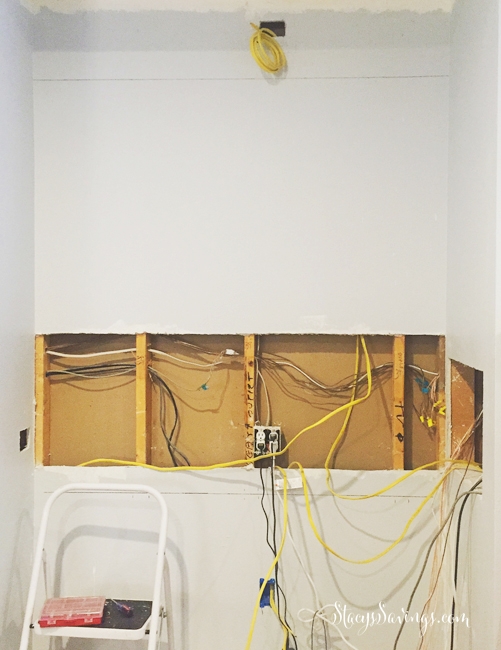
Since we’re using peel & stick tiles for our backsplash, we have to have a very smooth surface. Our existing drywall is textured, so I cut out our backsplash area. We wired our electric & put a fresh, smooth piece of drywall in to close up the wall.
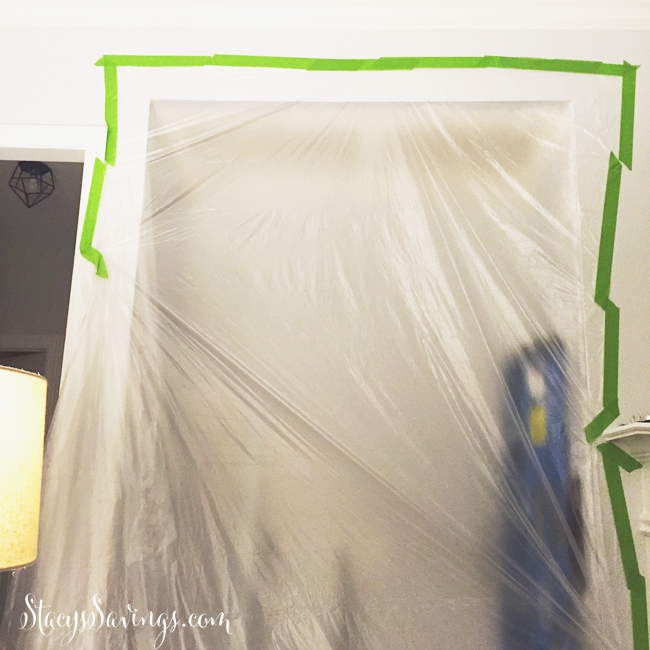
Once all of the electrical, drywall, taping & bedding was complete, I used Homax to texture the walls & ceilings. Using our my hopper & air compressor is too much work for this small space, so I just used the canned stuff. I don’t think the canned stuff is as good as the hopper, but it looks fine. I put plastic up and did the spraying inside so I wouldn’t make a gigantic mess.
Then, I primed the new backsplash drywall, and then it was time to install!
Cabinetry & Countertop
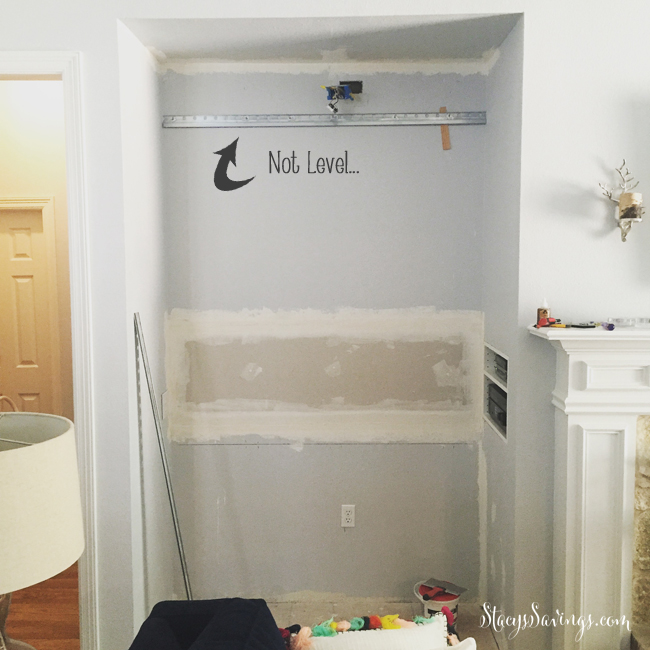
This is the first time we are using upper cabinets & lights with the IKEA system, and it’s a little tricky getting the rail level. We’re pros at IKEA Cabinets now. We’re using 40″ tall cabinets – 2 15″ wide on each side with a 30″ wide one in the middle.
Once we put the cabinets on the rail, they weren’t perfectly level. We had to do this about 2 or 3 different times. The rail was level, but the cabinets were just slightly off. We added a deco strip on the bottom with L brackets, and one on the back side – with notches cut out for wires – with my nail gun.
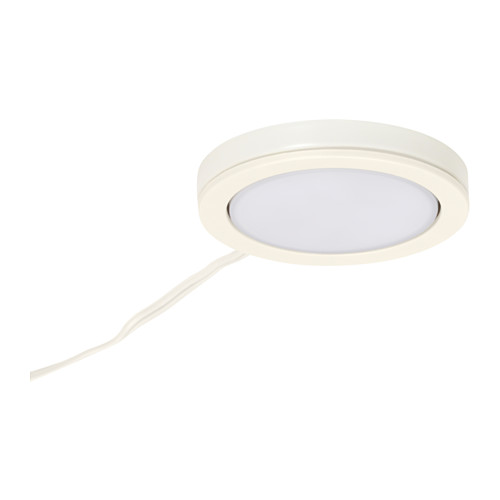
We are also using the IKEA cabinet lighting system for the first time in the DIY Built In Bar. These are much easier to install while the cabinet frames are on the floor and not on the wall. The middle cabinets are going to have glass doors, and we used the Omlopp puck lights under the cabinets as well. I like way the light is cast in a cone better than the strips that they suggest for undercabinet lighting. It works.
We installed an electrical outlet at the top of the wall so we could plug in the transformer for the lights, and then we wired that outlet to a wall switch so we could turn it on and off easier. We also purchased the dimmer remote control for the lights. The sales lady at IKEA was unsure this would work, since we were controlling the lights with a switch, but I was pretty sure it would work. I think she thought we were hardwiring the lights, but since we were just controlling the power to the plug’s outlet with the switch, it works just fine.
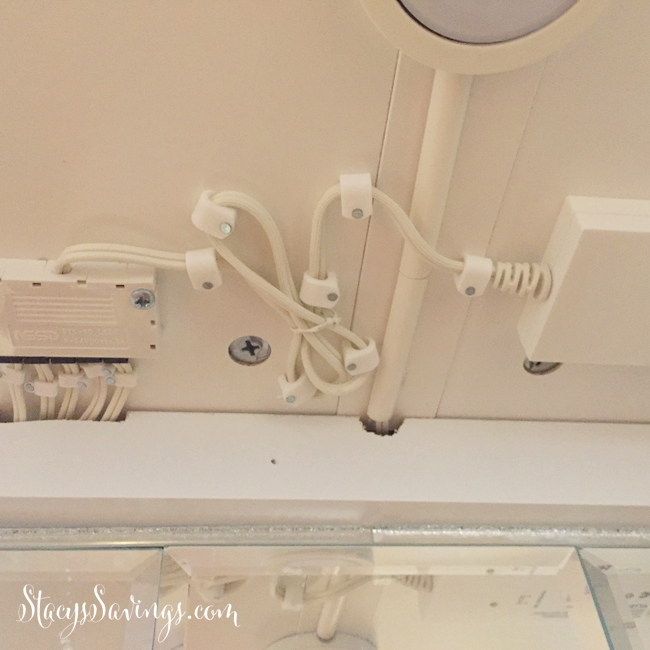
I hid all of the excess wire for all of the lights behind the upper cabinets. There is a lot of excess wire. I highly suggest you pick up one of these Fixa Cable Management kits while you’re at IKEA so that you can hide the wires under the cabinets. I like that it had different sizes and options.

This whole space is a little wonky, and it took us about 5 times to get the bottom cabinets somewhat straight and level. I don’t know what it is about this space, but nothing is square; none of the walls, the floor, the ceiling. Nothing. I’m still having trouble with the drawer in the right frame sitting inside the right way. It seems to be crooked & sticking out on the right, but I can’t figure out why because everything measures exactly the same. Its driving me bonkers.
The Backsplash

I love the DIY Built In Bar countertop! It is so pretty! I’m in the middle of my Polycrylic coats to give it some protection from moisture.
The peel & stick mirror subway tiles are so cool! It took me about an hour to put up on the wall. They are super sticky. If you use these, make sure you’ve got it exactly where you want it and level. If you put one in the wrong spot and have to remove it, you’re going to take some wall with you.
These are easy to cut on the short side with a manual tile cutter, and on the long side with a wet saw. These tiles are not true 3×6, and some are slightly bigger than others, so the tile got kind of wonky. It looks fine, but I’m super OCD, so I can see all of the flaws. But I do love the look & we get a lot of compliments!
Wine Storage
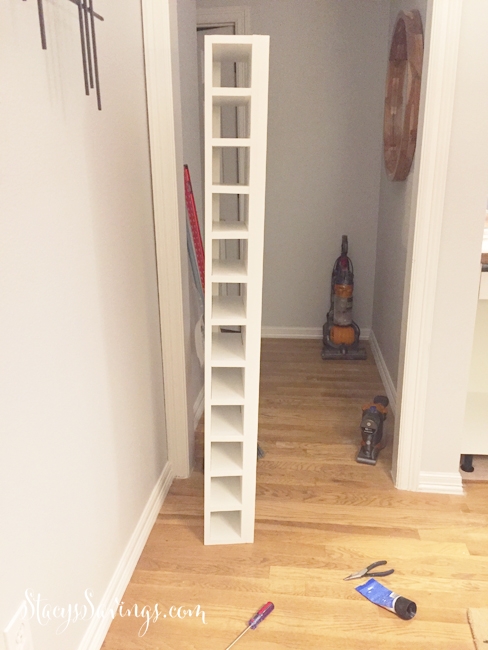
For the top 9″ above the cabinets, I decided to build wine cubbies and then top it off with crown molding. I built the cubbies out of poplar boards and poplar scraps I had in the garage. It’s 11.25″ deep (the width of my poplar boards), and the same width as the cabinet frames. This way, I could run the side filler pieces all the way from the bottom of the cabinets to the crown molding to tie it all in. I just used my nail gun and some spacer blocks.
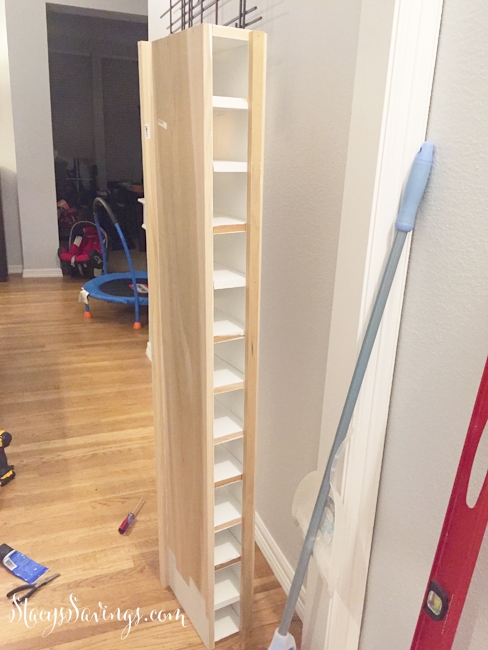
Since its not structural and way up top, I didn’t even glue the pieces or anything. I nailed a little 1″ board of scrap to the bottom back to stop the bottles, and another 1″ board across the top to hold the crown. The rest of the back is open so I can reach the outlet if I need to. It might be cool to add some led light strips there in the future for back lighting. I only caulked the interior gaps on the top side, and only half way back, because that’s all you can see and I’m lazy. 😉
It’s perfect for our little DIY Built In Bar.
Finish Trim
I installed some poplar strips as fillers on the sides of the cabinets using my nail gun, and then I used white wood filler to fill in all of the gaps between pieces of wood, and caulk to fill in between the fillers & the wall.
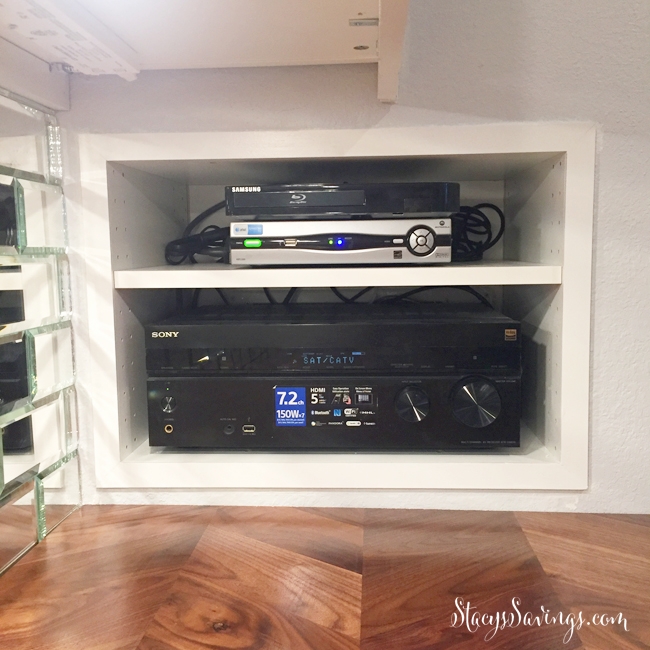
While I had my brad nailer out, I attached some painted & mitred 1.375″ lattice to trim out the recessed media cabinet. I’d like to clean up those cords a bit, but its pretty cramped back there. All of the cords are zip-tied, so its just having space for all of the bunches.
In 2020, we got a Samsung Frame TV, so it’s easier to connect everything to its brain box.
What’s Next?
And that’s where we’ve been for the last week or so with the DIY Built In Bar. Things will start moving again today. We’ve got to install the toe kicks so we can finish caulking & painting. The fridge Is here and will be ready to install today. The cabinet doors are coming tomorrow, so I’ll be able to get started painting those. I’m hoping to have those installed by Monday, but its supposed to rain this weekend, so we’ll see how fast I can get them painted.
I’m still trying to track down some glass for the 2 upper cabinet doors. A lot of places haven’t returned my calls, which is super annoying. I did find a place that can do it for about $125, but its kind of far away, and I’m not sure I want to drive there.
We should have this project complete by the end of next week. After that, we just have to wait on Pottery Barn to ship the door pulls. Those aren’t supposed to be here until the end of October.
DIY Built In Bar Update
This project is complete! Here are all of the posts so you can see it built from start to finish!
Check out all of the Stacy’s Savings Total Home Makeover posts here!


Leave a Reply