One of the most popular DIY posts on Stacy’s Savings is from when we first moved into this house. In that post, I completed an IKEA Billy Hack to create a custom closet in my son’s room. I always knew I wanted to recreate that in his sister’s much smaller closet, but I never got around to it.
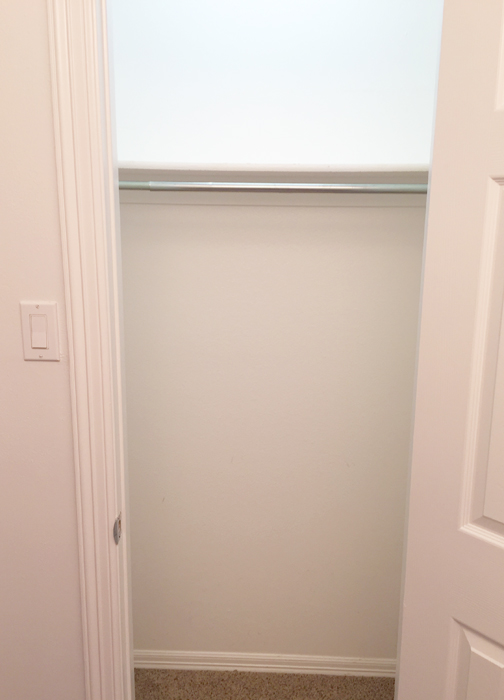
Girls’ Closet Before
By 2016, I was pregnant with my second daughter, and realized this tiny closet was going to have to pull double duty for two little girls. So all of a sudden, it was #demoday. So today’s post is all about how I used a slightly different take on the same IKEA Billy Hack to create a custom kid’s closet.
This girl’s room closet is located in the vanity area of the kid’s Jack & Jill bathroom. It’s a very tight squeeze and extremely hard to photograph properly. It’s a very small closet for one kid much less two. The closet before just had one shelf and a rack for clothing. I wanted to use a Billy Bookcase with cloth bins for storage as well as shoe storage. I also wanted one clothing rack for each girl, plus a shelf over that rack. That’s about all we were going to have space for.
Construction
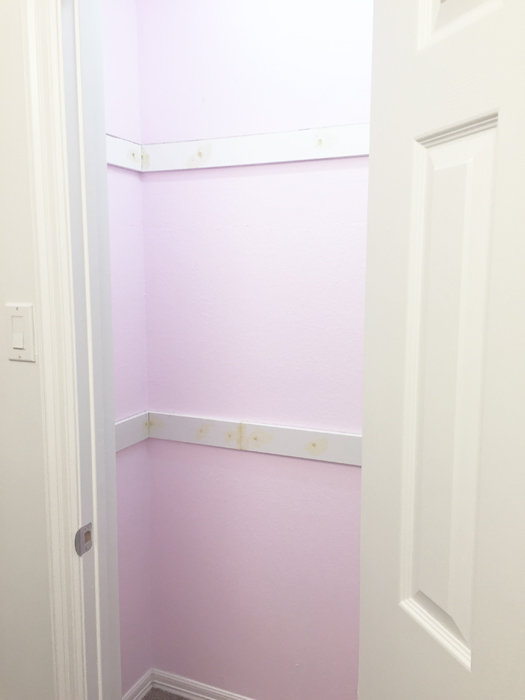
We demo’d the closet, repaired the holes in the wall, and painted everything in Benjamin Moore I Love You Pink.
This is the same pink that is on the Cathedral Ceiling in their room. Since most of it will be covered by clothes or white shelving, it’s not too in your face. I always think painting closets is a fun way to get a pop of color. I painted my son’s closet Benjamin Moore Light Blue. The Master Closet is painted Benjamin Moore Hale Navy.
For my son’s closet, we were able to use a full sized Billy Bookcase to anchor our space, but my daughter’s closet is much smaller. Their closet is more of a standard size closet. I’m pretty sure its the same size my dorm closet was in college. For this closet, we were going to have to go with the skinny Billy Bookcase with the extension piece on the top. The skinny Billy in white is $69, and the height extension is about $25.
I built the skinny Billy in the room, then carefully wedged it through the door and put it on the right side of the closet. The Billy has a cut out on the bottom for a baseboard, but not on the side. We used our Dremel tool to cut the baseboard and removed it to fit the Billy snug against the right wall of the closet.
Building the Custom Shelves
After the bookcase was in place, I assembled the extension shelf, installed it, then anchored the shelf to the wall using the provided anchors. That was probably overkill, since the shelf really can’t tip over very much, but better safe than sorry.
With the Bookcase in place, it was time to install the shelves and start the IKEA Billy Hack. Unlike with my son’s closet, I now had a nail gun, so this part went much faster. After measuring and cutting some mdf 1×3’s to size using my mitre saw, I used Liquid Nails on the backs to adhere them to the wall.
I made sure the bracket boards were level, then I used my nail gun to drive 2.5″ finishing nails to hold it in place. I used 1″ screws on the bracket boards attached to the Billy so that they wouldn’t go all the way through the bookcase.
For the shelves, I salvaged the shelf that came from the closet and cut it down to size. The other shelf I used some leftover Poplar that I had in the garage from the Master Bathroom shelves. I laid those on top of my brackets, checked for level, then used my Brad Nailer to attach them to the bracket boards.
After filling my nail holes and caulking, it was time to prime & paint!
Finishing Touches
I used Benjamin Moore Advanced in Decorator’s White to paint the shelves and bracket boards in the closet. This is the same white that we use on all of the trim in our house. It’s not the exact color as the Billy, but you can’t really tell from the bad lighting in the closet. If this bothers you, you can take one of the shelves from the Billy to Lowe’s or Home Depot and have them color match it for you.
Once the paint was dry, I installed these closet rod cups to my bracket boards, cut two wooden closet rods to size, and the closet construction was complete!
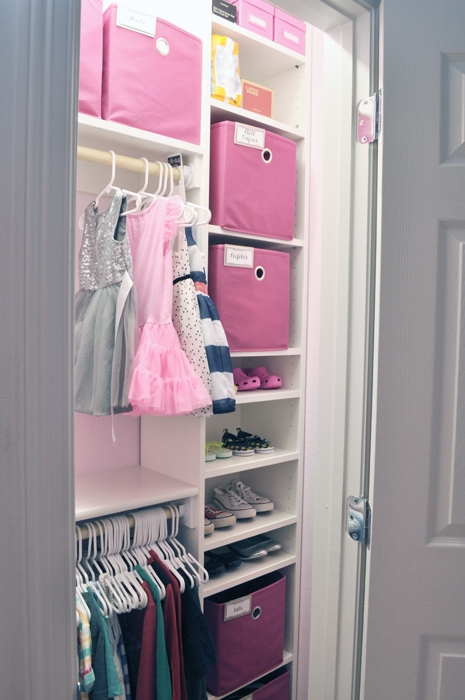
The best fit I could find for cloth bins for this closet are the Room Essentials cube bins from Target. I got them in Rose to coordinate with the girls vanity. They even have these fun clip on label holders!
The Finished Closet
Here’s what it looks like now:
Our girls are still sleeping downstairs for various reasons, so most of their clothes are not up here in their closet. We still have a lot of wall space at the front of the closet to put hooks for purses or other items in the future.
We keep pants, shorts and other items in a shared dresser in their room. Each girl gets 2 drawers.
This closet only took me one day from start to finish, and cost about $175 for all of the materials. Most of that was the Billy, the height extension, and a couple of extra shelves.
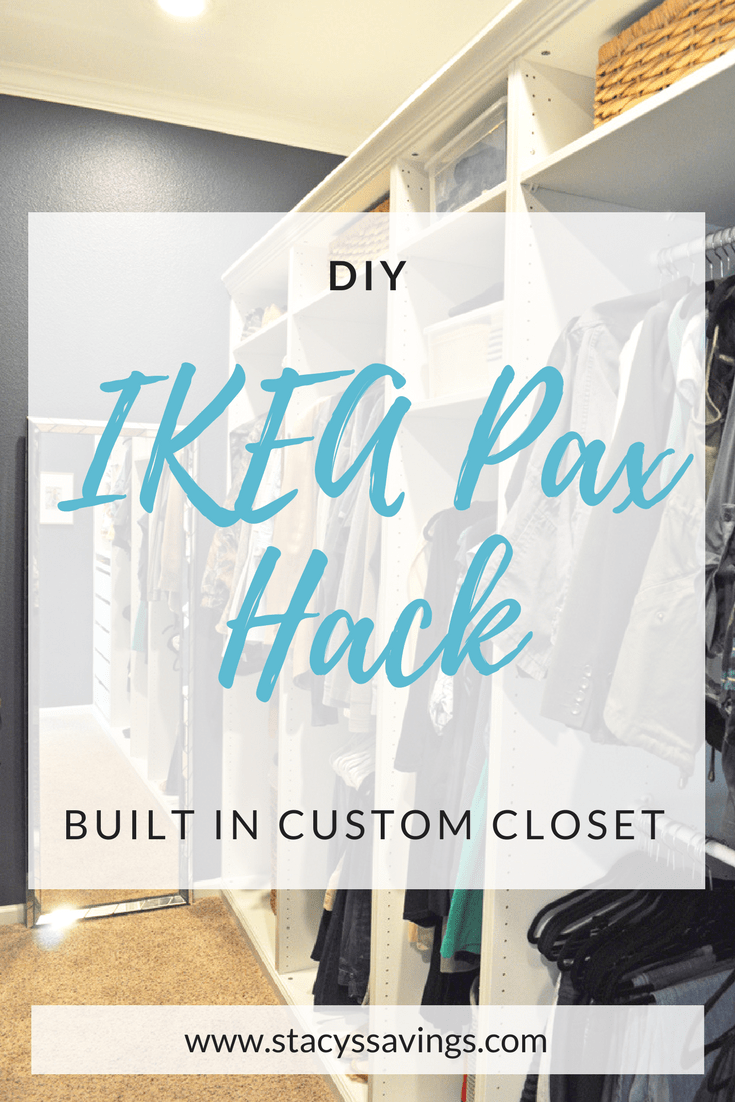
Here’s a pin for later!
Coming soon, how we rearranged the room to fit both girls!
We’ve now completed closet renovations on every closet in the house, except the linen closet. It’s so nice to be organized!
Do your kids share a room? How do you handle the clothing storage situation? Have you completed an IKEA Billy Hack? There are tons of ways to turn this bookcase into something special. I’d love to hear your ideas in the comments!
Check out all of the Stacy’s Savings Total Home Makeover posts!
I’m linking to Thrifty Decor Chick’s Amazing Before and After blog post.









Handy Squad says
Such a great idea Stacy, thank you for sharing
Stacy says
Thanks for reading!
~Stacy
Angela Ayala says
Where have you been my whole life? I am obsessed with this makeover. I’ve been in my home for 7 years now and I have a almost 5 year old son and a 2 1/2 year old little girl. I have the same closet issue in my home and I’ve been struggling with what to do with it especially as the kids get older. I’m going to show this to my husband tonight. He is totally against expensive makeovers because we will eventually move, but I think this will work. Thank you!!!!!
Stacy says
This is so amazing! Thank you so much! Did you check out the post about how I did it in my son’s closet? There are so many ways to go with the Billy bookcase. You can put one in the middle with rods on each sides for wider closets. Its so customizable and CHEAP! Plus its a really easy weekend project! This will totally work for you! Good Luck!
~Stacy
Jada says
Hi!! How has the rods held up against the Billy? I’m in the process of copying (hehehe) this and was wondering if it will be too much weight.
Stacy says
Hi Jada!
We haven’t had any problems! I put a piece of wood between them and the billy, and that probably helps too. We also haven’t had a closet full of adult clothes either, but I don’t think it would be a problem!
Good Luck with your project!
~Stacy