We’re trying to save up to finally remodel the kitchen this year, but until then, I need to update something. Anything. Right now. So while we wait to do anything major until we’re ready to go on the kitchen, I’ve set aside a small amount in our budget to do a mini Master Bedroom Makeover.
Master Bedroom Before
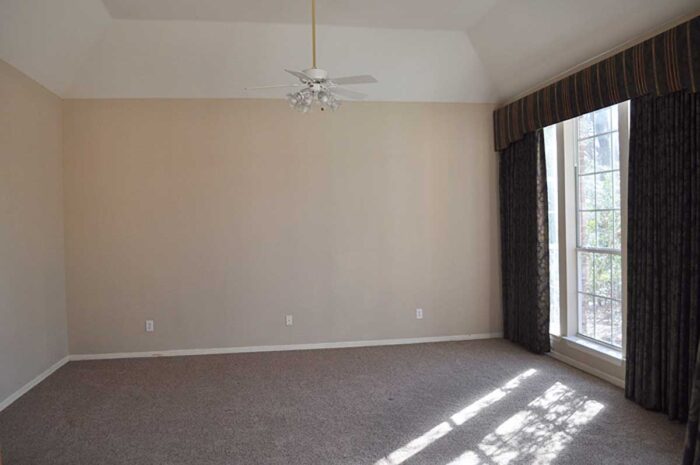
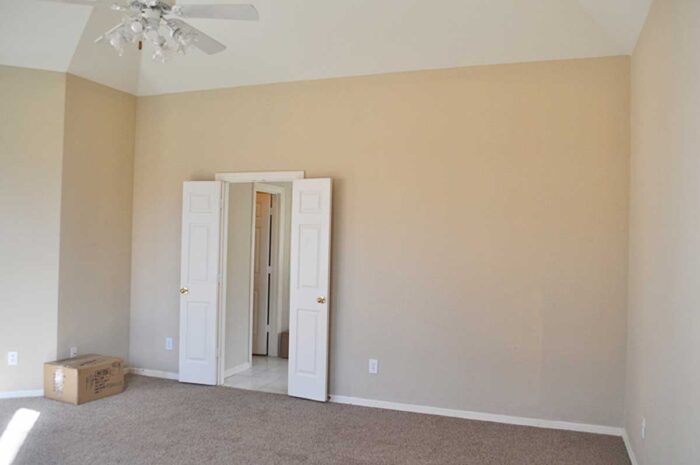
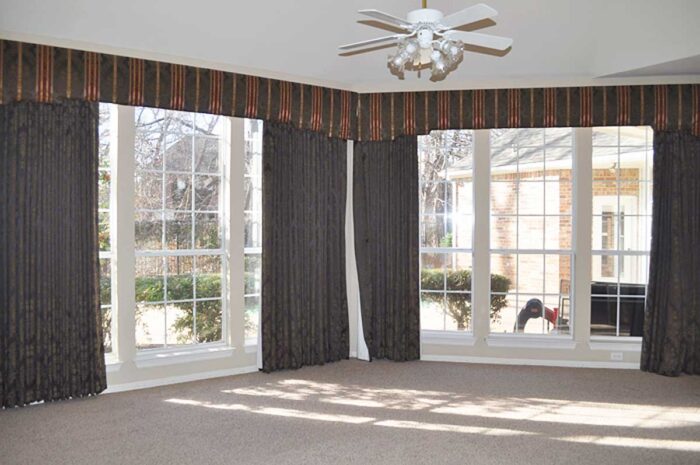
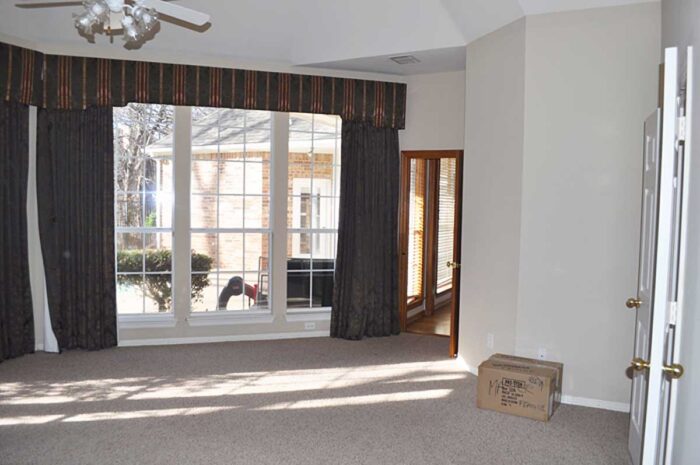
When we moved into this house in 2014, the Master Bedroom was painted an off-white creamy color, had a severely outdated fan, and very heavy custom drapes and cornices. The draperies overpowered the room and made it feel small and dark.
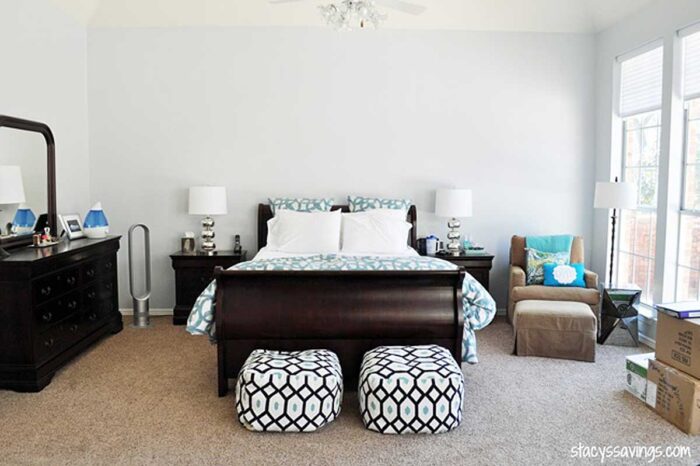
In order to make this room more “us”, we removed the curtains & hardware and had the walls painted Benjamin Moore Bunny Grey like the rest of the house. This left us with a very blank slate. We moved our existing furniture in and called it a day.

Shortly after moving in, we replaced the tiny matching nightstands with these 3 Drawer Dressers for more storage. I also swapped out the duvet cover for this white linen version.
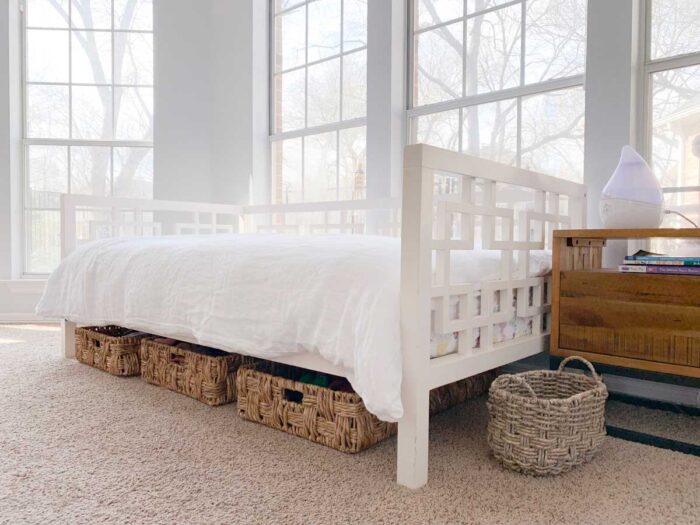
On the other side of the room, we added a daybed and nightstand for our daughter along the window wall. Those are the only major changes we’ve made to this room in 5 years.
If you follow me on Instagram, you’ll know I’ve been ready to pull the trigger on a refresh project in here. If you watched my Stories, you’ll know I’ve already done some of the work!
The Master Bedroom Makeover Plan
Basically, the idea is to keep our existing furniture and bedding, but make the room feel special by adding a wall treatment behind the bed, paint, case the windows, and replace the window treatments. Our budget for this project is about $1800, and most of that is window treatments.
We’ll be completing this room in phases. To scratch my remodeling itch before the kitchen gets started, we’re only taking on the cheaper projects now. These should be done in March. Some of them are already done, as you’ll see!
Painting the Ceiling
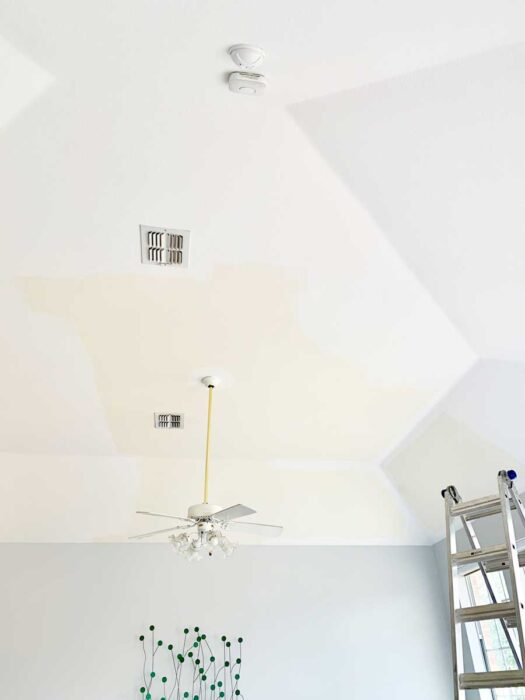
One of the projects that I’ve already completed was to paint the ceiling white. The ceilings haven’t been painted since the house was built, so we’ve been slowly painting them crisp white in each room as we remodel it. I finished that job over the course of 3 nap times last week. I bought the paint over MLK weekend so that I could get a rebate. This is the ceiling paint that I prefer to use. Painting the ceiling made a huge difference.
Updating the Lighting
This room is a rather large room with very tall ceilings. The existing ceiling fan had a small, 4 bulb light kit on it, and it wasn’t enough light to fill the room. Since we moved in, I’ve been wanting to replace the fan and install can lights on a smart dimmer switch so we can spread out the light to the whole room instead of concentrating it in the center.
Last year, during some sort of go green tax free weekend here in Texas, we purchased a new ceiling fan without a light kit for the Master Bedroom. It’s the same under $50 fan that we used in the Living Room & Playroom. Last weekend, Doug installed 5 recessed LED can lights. We’re wiring them and installing the fan this weekend.
Accent Wall Treatment
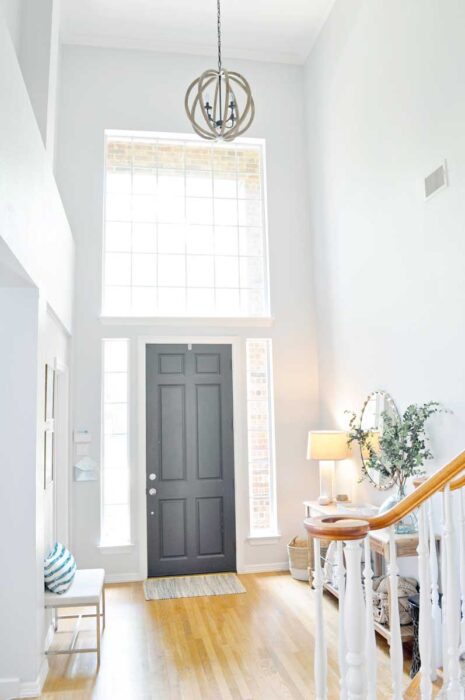
After much debate back and forth between a grid or shiplap, we’ve decided to do a shiplap accent wall behind the bed. Shiplap is faster to install and easier on the brain. Grids take a lot of thinking, plus a lot of caulking, leveling, and prepping before paint. Instead of doing white shiplap, I’m going to paint it Graphite by Benjamin Moore. This is the same shade as the inside of our exterior doors. I think it will look really great as an accent wall behind the bed. I can’t wait to decorate it!
Recessed Outlets With USB Ports

Another project that I completed last weekend was to replace the outlets behind the nightstands with large, recessed outlets that have USB ports. We’re going to add an additional outlet on each side as well, so each side of the bed will have 4 outlets and 2 USB ports behind it. You can see how we did that in this post. We used to have small extension cords back there for when we needed extra outlets to charge things or plug in a humidifier or fan.
I’m going to do a post on how I did these deep recessed outlets in a future post. They’re wonderful because you can use larger plugs in them, like for an Amazon Echo, and still push your furniture up against the wall.
These are the only projects that we’ll do before the Kitchen is done. The remaining ones are much more expensive than these little jobs. But, these little jobs will have a BIG impact. Especially the wall & lighting.
Future Master Bedroom Plans
The projects that we’re waiting on until after the Kitchen Remodel are the windows. I can live with the windows the way they are for a while. Plus, we’ll be getting new flooring in here during the Kitchen Remodel, so we have that to look forward to as well.
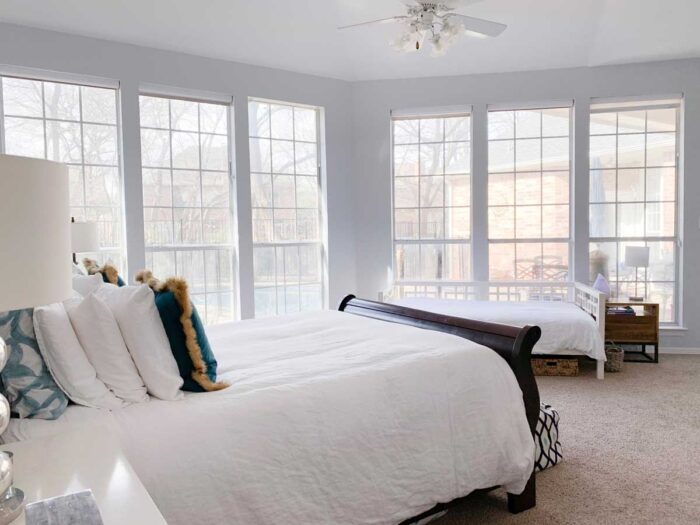
We love our large windows that look out onto the pool, backyard & creek. They let in so much light, but that can be a problem sometimes. We’re going to case the 6 windows back here, which is something I’ve been slowly doing to all of the windows in our home.
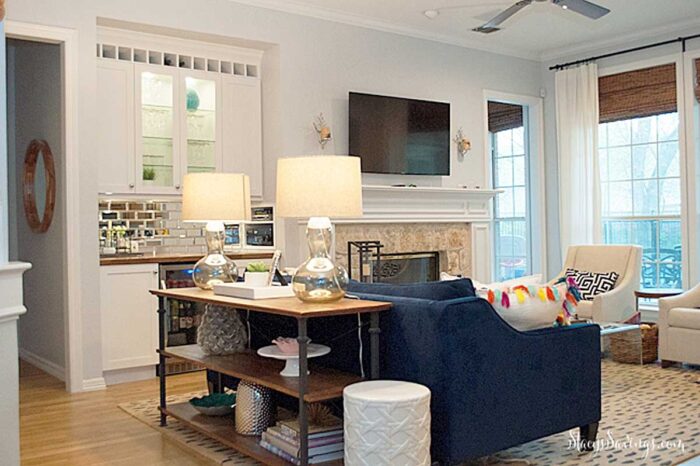
Once the windows are cased and painted, we’ll install bamboo shades with blackout liners like we did in the Guest Room, Living Room & Playroom. That way, all of the windows on the back of the house are all cased and have the same treatments. They’ll look the same from the inside and outside.
The bamboo shades are mostly decorative, and I don’t think they will be durable enough to use every day. So in addition to those, we’re also going to get white blackout curtains with grommets that we can easily close. I was thinking 2 for each side, but I could do 4 on each side. I need to see what everything looks like cased before I make up my mind.
Eventually going to replace the actual windows, which is something we need to do in the whole house. Almost all of our windows have broken seals and are leaking, so that’s probably the next BIG project after the kitchen is done.
New Furniture?
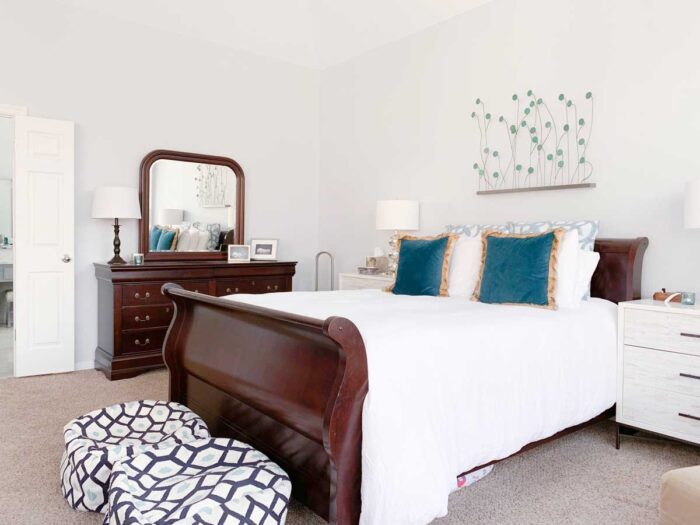
Long ago, in a house on the other side of town, we bought a 7 piece bedroom suite from Rooms To Go. That was the thing to do in 2003. Buying a matching set isn’t so cool anymore, and you can see that I’ve been shedding pieces here and there. Eventually, we want to get a king-sized bed and get rid of the long dresser, mirror, and the chair & ottoman. I feel like less furniture in here is better. Since we remodeled our closet, I don’t even use that dresser anymore. It’s full of my daughter’s clothes.
Wow! That sounds like a lot of work, but it’s really not. Especially considering I’ve already painted the ceiling and installed the light cans & recessed outlets. I’m going to try to do the shiplap this weekend, so make sure you’re following me on Instagram to see the latest.
What changes have you made to your Master Bedroom? Have you installed shiplap in your home? What about a grid pattern? Tell me in the comments! I love an accent wall in a master bedroom, and I can’t wait to have one in this house!

Want to see more of what the house looked like when we moved in? Check out the very first post introducing you to our house. Also, see all of the other projects we’ve completed in the last 5 years!

Leave a Reply